
 Mom and I headed to Bead N Button last June and had a great time. We decided to skip classes and just shop, spending the nights playing in our hotel room. Wow, did we ever have fun!
 One of my goals was to learn a little about playing with tin in jewelry making. Mom has done quite a few projects in the past, including this adorable book pendant, so she spent some time helping me learn the ropes. Fun, fun.
Here's a look at our first project.

This is the back of mom's, the front is above.
Here's a look at the inside. She's added 4-5 art journal pages that she's done up with stamps, paints, etc. Really cute.


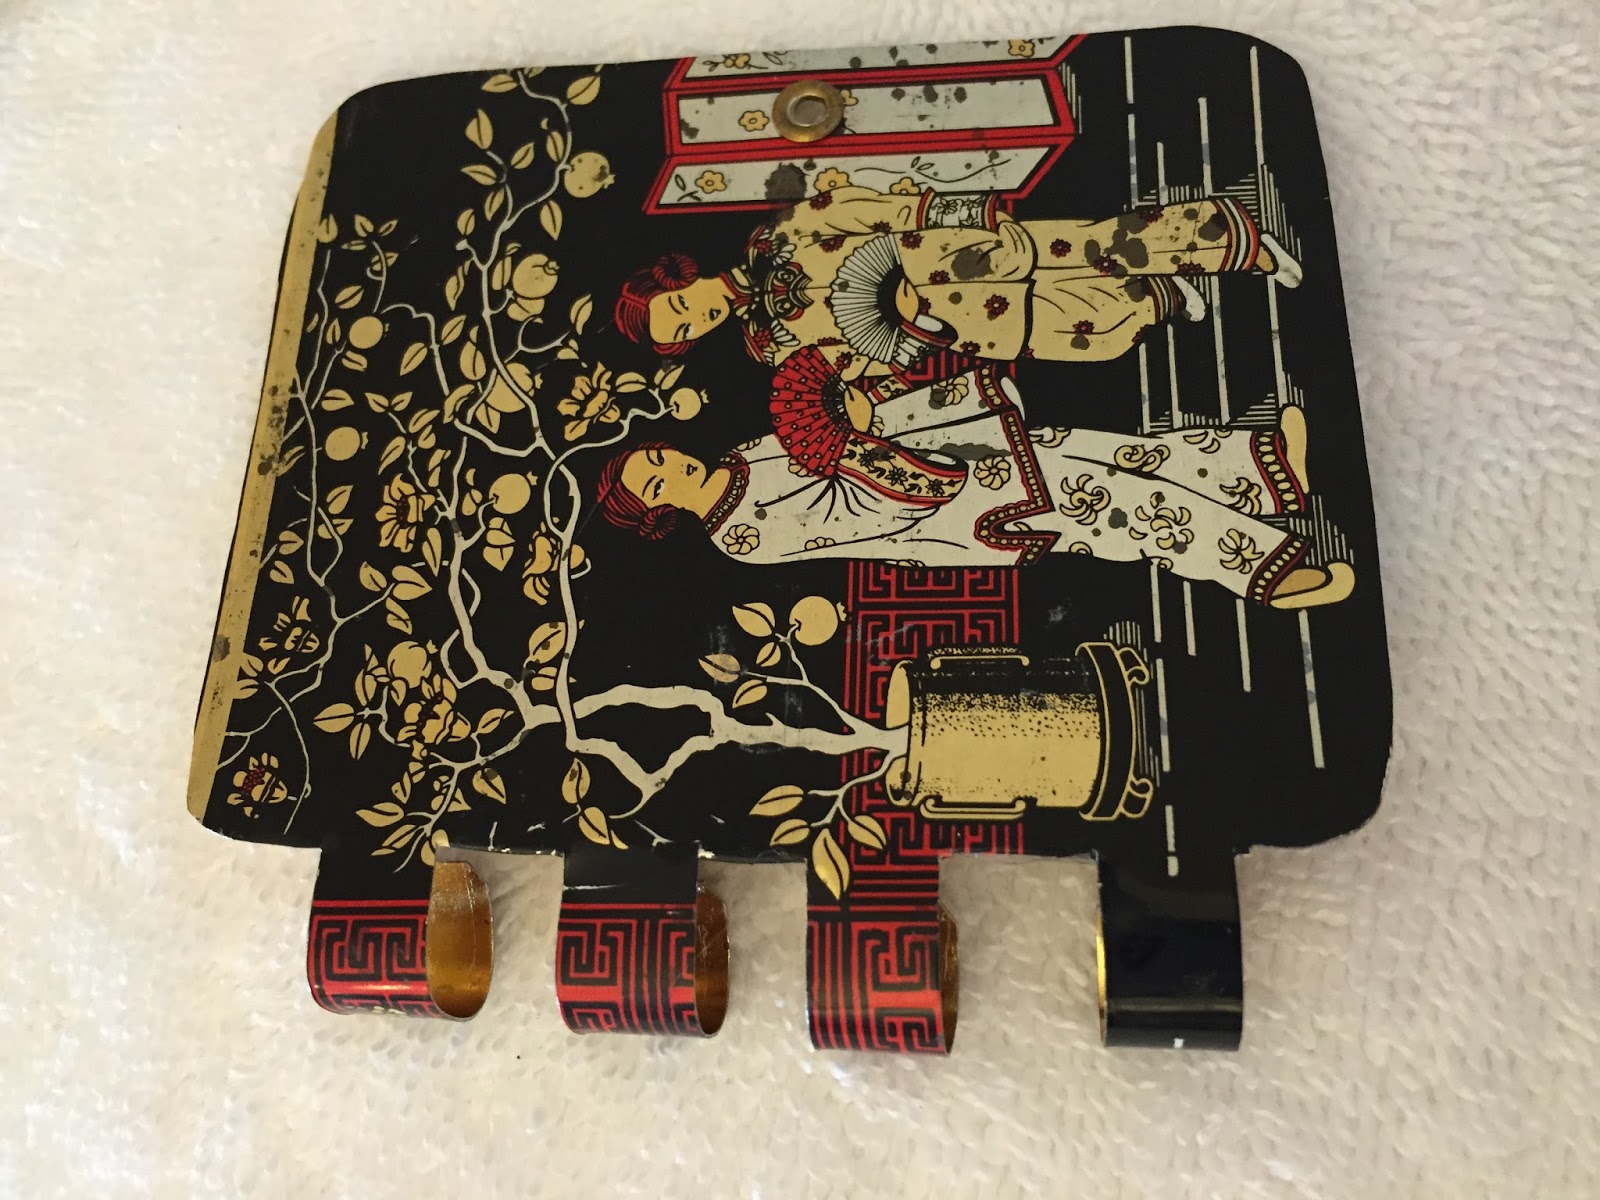
Now, here's mine. I happened to have the same tin and I love it so I'm using the same picture. First thing you'll want to do is cut the bottom off your tin using tin snips.

Next, create your template. We used mom's finished piece but you could easily make it any shape/size you want. Our tabs are roughly 1" in length. This is a front and back template in one.

Simply tape it to your desired picture and cut it out (use shears instead of the tin snips so you don't mangle your tin). For the front, cut around the outer shape and the tabs. Repeat the process cutting the outer shape without the tabs and then cut out the four slits for the tabs on the back piece.

Here's what your front piece should look like:

Now, pay attention, do you see my mistake? I really wanted the bird picture but I ruined it. Notice it's upside down when I make my book. When you are marking your template don't be hasty, like I was, think about it and even play with it so you know you've got it right.

Alright, now its correct. Those holes were a pain in the butt to do. We didn't have our Jeweler's Saw with us so we had to use a hole punch and then sand it good. Not quite as nice but it'll work.

Mom had brought some papers with so we cut out ten different papers, glued them back to back (since the backs weren't decorative and it made them sturdier) then cut out the holes to attach them. I waited till the papers were in the book to round the corners, I'd recommend doing them now. Also, if you made the holes a little bigger they move easier within the hinge.

Almost ready to put it all together. Next, think about how you're going to close your book and hang it as a pendant. We will be adding some rivets using a "Crop-A-Dile" to do so. What a great tool. I had never heard of or used one until this weekend. Worked like a charm.


Then flanked the center hole with two on the back. Also, two at the top of the back piece for hanging. Now, rivets.

Alrighty then, your prep work is almost done and its time to get it put together. Use a pen/pencil to help you round your tabs, gently and slowly so as to not break any off.

Here's the front, rolled over part of the way and ready to be put together.
Back goes on first, then add your paper pages (we didn't have glue in the room so our pages are not glued together yet.) One you get it all on it's time to start working the tabs closed a little more. This takes some time and patience, just keep working with it till it rounds nicely and closes all the way.

I did not do anything to the papers, they're cute enough as they are.


For the back cut another piece of cording, make a knot in one end, thread through one of your rivets from inside to outside, leave a loop large enough to wrap around and grab the front knot, then run back into the second hole, outside to inside, making another knot and cutting off any extra. Use clear nail polish to glue the knot.


Add the chain of your choice and you've got an adorable, OOAK Mini Book Pendant. Cute, cute, cute!


Such a fun, relatively easy project. Can't wait to make more.


Decorating the bedroom isn't complete without a having a nice table lamp to go along with it. Two things to consider when choosing a suitable table lamp for your bedroom are design and quality of lighting. Table Lamp
ReplyDelete