Showing posts with label Rehab Fab. Show all posts

Thursday, September 22, 2016

Bathroom Update- Hip Hip Hooray, We're Done!

This post is from a bathroom remodel I worked on last summer/fall.  It seems that every time I begin a tile project I horribly underestimate the time involved.

Yesterday I started tiling the accent wall that divides the bathrooms at The Chirping Frog.  My body is already screaming at me and I'm only roughly halfway up the first wall... and its time to start climbing a ladder!  The real fun is just beginning.  It's always worth the time (and pain) once it's done but man, I'm reminded every time I tile of just how old I'm getting!

Here's a look at the before and after's from my last tile project.  I need the reminder that the end result is worth it.

Can you believe it, the bathroom is finally done.  It's really amazing how removing one little half wall has opened up the entire space.

Here's a reminder of how dark the shower was before we started our "little" project.  First order of the day was to bust out this half wall and get some light into the shower area (which required moving plumbing and a vent), but wow, what a difference it makes!
Before
Before

After

This is the best before picture of the vanity area that I have.  Wish I had thought to take a better picture.  The vanity is a whopping 84" in length.  Hugo, with a simple builder standard mirror covering the entire wall behind it.

Can you say dated?

My first order of business was to remove that mirror, then I wanted to divide up the huge expanse of counter-top with a wall cabinet (a place to hide all the junk), tile that wall and hang framed mirrors instead.  The counter-top was changed out along with the fixtures, the cabinetry got a gorgeous shade of blue paint and new knobs.  Presto, chango, what a drastic difference that made!
Before
After

After

After

After

This is the only picture I took of the "water closet".  It had linoleum before that met up with carpeting at the doorway.  It was a bear to get out but now there's a nice smooth transition at the doorway.  I'm leaving all the decorating up to the homeowner (I'd hang a grouping of those cute sea-scape pictures you've got right on that wall, don't spread them through the room like you had them before, mass them right there for more impact pretty please, if you're planning on re-using them that is).
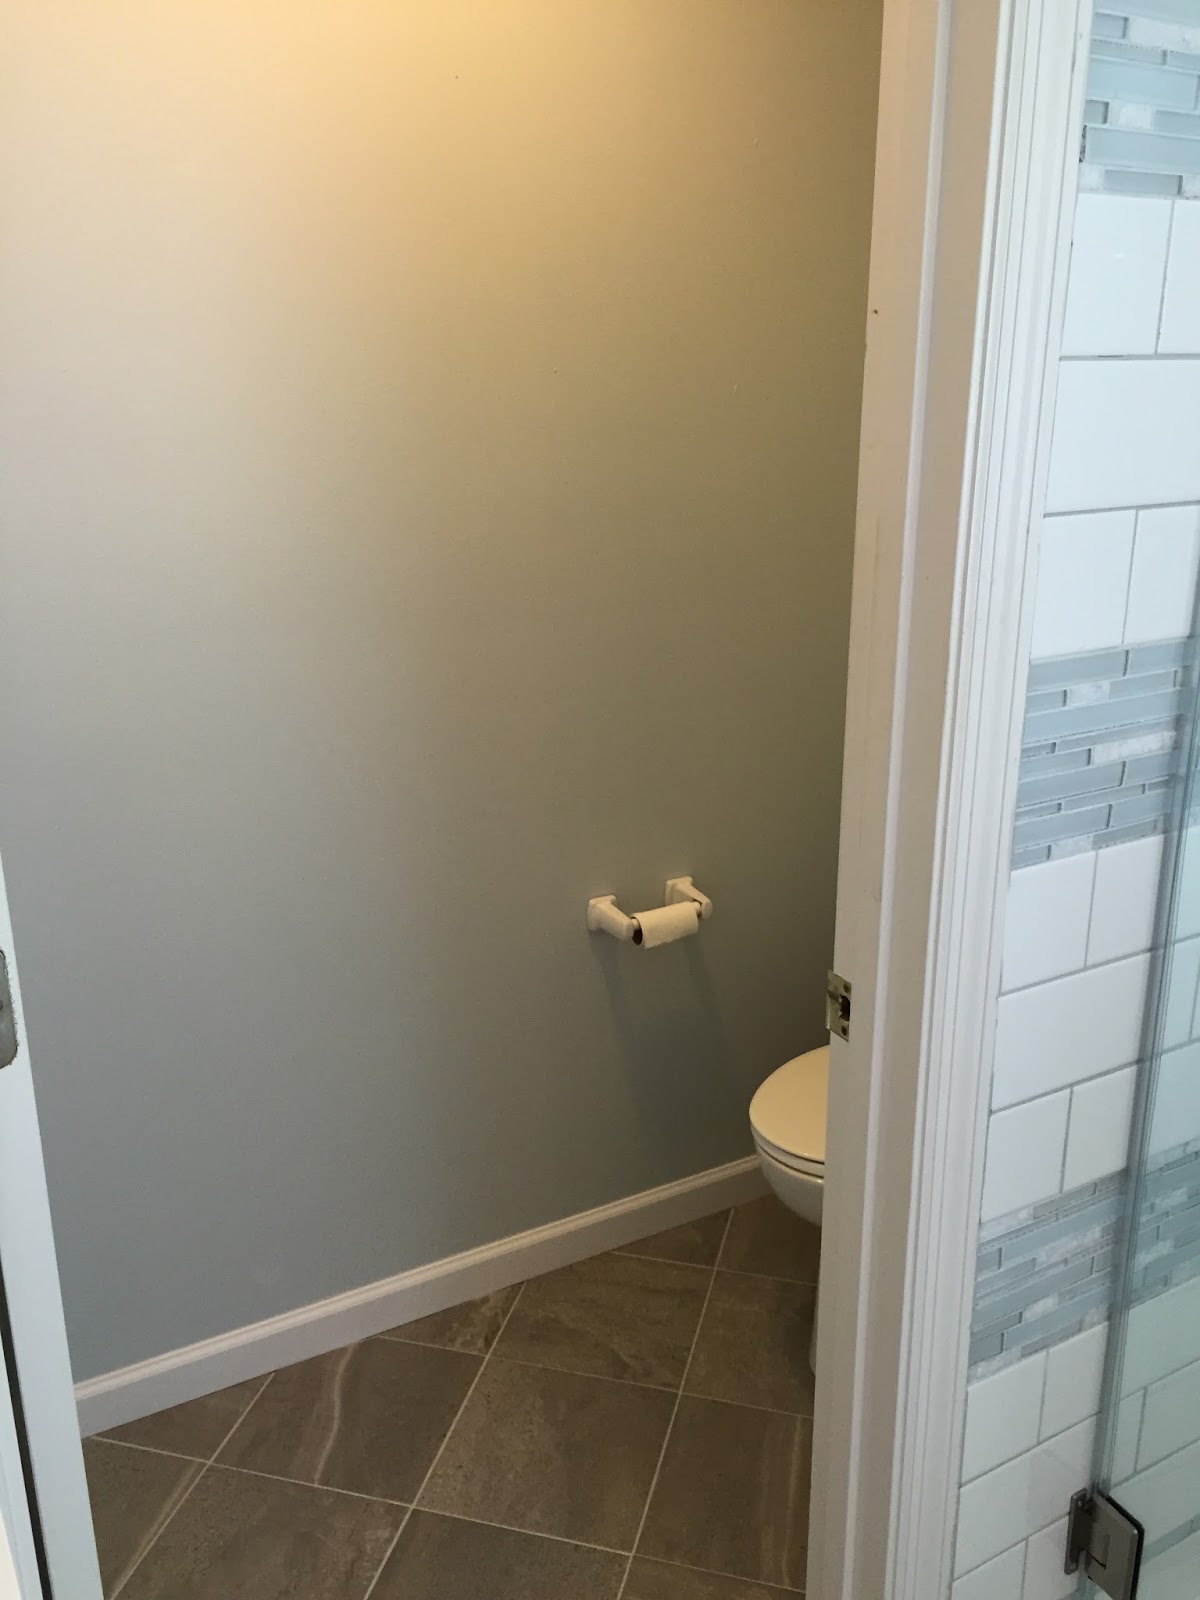
After

So, what do you think?  Was it worth the time and effort or was it fine how it was?  Favorite part?  What would you have done differently?  Would love to hear your thoughts.  Have you tackled a similar project, please share, we'd love to see your work.

Thursday, December 31, 2015

How to Tile an Accent Wall in Your Bathroom

I recently helped a friend remodel her bathroom and my favorite area of the whole room is the vanity space.  Talk about an amazing transformation.  Here's a look at the before:


My plan for this part of the bathroom:

Friday, November 27, 2015

How to Update Your 50's Kitchen On A Budget

I've been helping a friend update her 50's ranch.   Our goal, major impact without breaking the bank.  One of the first areas that needed tackled was the kitchen.  A complete overhaul would be wonderful but that was not our plan.  We opted for some paint and elbow grease.  What an amazing transformation to such a dingy old kitchen.

To subscribe to our Cheat Sheet Postcard Series and get today's postcard, a free printable with ten different ways to update and add some flair to your kitchen, please click here:

Friday, November 6, 2015

How To Make Simple Updates To a Dark, Dreary Kitchen on a Budget

When the boys were in High School, over Spring Break I took a trip to my moms while they visited the in-laws. Mom and I spent an extended weekend (roughly 5 days) busting our butts getting her kitchen overhauled. The plan was to spend as little as possible and just freshen it up. It's such a small, dark space so automatically we knew the cabinets had to be painted. We also opted to put down a new floor and add a backsplash. Mom ended up changing out the countertops and sink as well. It really turned out great and we got to spend some quality time together. It was lots of hard work but we had a blast!

To subscribe to our Cheat Sheet Postcard Series and get today's postcard, please click here:

Tuesday, August 25, 2015

Bathroom Update- Almost Done!

Believe it or not, almost done!  The baseboards are in and the tub surround is done.  I have a day of finishing touches and the project is complete.  It's been a long road but I can see the light at the end of the tunnel.


We decided to use beadboard for the tub surround.  I used the original wood as a base, cutting it down to fit (the addition of tile shrunk the space a bit).  Once I'd gotten it cut I couldn't use all the old screw holes so I had to make some new ones.  I didn't have the tool with me to sink them so I used a standard drill bit and made a  shallow hole to sink the screw into (it needs to be flush for the beadboard to lay over the top).

It's in, still needs the nail holes filled and a coat of paint.

Got the nail holes filled and now I need to caulk and paint.  It's looking good, and almost done!

Thursday is my last day, it'll be a long day of finishing touches and this project will be complete.  Before and After pictures coming soon.


Friday, August 14, 2015

A Look Back....

Last year at this time I was finishing up a project with lots going on.  Here's a look back at my final post (posted originally on 8/13/14) for the project, "Phase 3 Completed!..... Mostly anyhow".  

Here it is, before and after pictures from this week.  It was a whirlwind and I'm lovin' the results.

Before
 There was nasty worn-out carpeting on the floor and the countertops were covered in stuff.

Before
I have a bad habit of hitting the ground running and forgetting to take before pictures, so imagine the color of the paneling also on the cabinets.  Perty eh!

After
Painted walls and cabinetry, changed out the flooring and added some decorative touches.  I still have some caulking to do (if it was ever done it's disintegrated over the years) and painting the baseboards, not a bad result for minor cosmetic changes.


After
I also changed her toilet seat cover, there was a cream colored one with stains on it before, a fresh wood one that matches the floor looks so much nicer.  I'd also like the curtain to swag but didn't have what I needed to make that happen., a small project for another day.

Before
Except for the ladder this is what the kitchen looked like before, missing doors and all.

Before

After
I added some trimwork, painted the cabinets and cleaned all the pulls and hinges.  I didn't get to the backsplash but you can see the "tin" backsplash I want to add.  The countertops are 50's laminate, I am shocked at how well they cleaned up.  Once I get the backsplash done it all just needs some fresh caulk and it'll look great.  The appliances could use a good cleaning too!  The magnetic latches on some of the cabinets are missing as well.  I bought them but didn't have time to get them on, A project for another day.


Before
The bed is on the floor, the closet doors were leaning behind the bed as a makeshift headboard.  The curtain (in the right edge of the picture) is just hooked on nails in the corner of the window and the part of the picture you can't see is a mess!

After
The pictures don't do this room justice.  It's really great.  Bought a bed!  Wow, what a difference that made.  The doors got hung, changed out the window treatments and cleaned it up.  The area you can't see is bare, a seating area would look great!

Before
Again, I didn't get the true before picture, I've already painted the brown wall and the right side wall.  The green couch and the cube end table I brought up from the basement.  The small step-ladder is there for me to paint.   Caleb had already cleaned out the room as well,  it was loaded with "stuff".  You get the idea from what it looks like now.

After
Cleaned it all out, painted, bought some lamps and throw pillows, window treatments.  Any accessories were already in the room.  I've got ideas for adding personal touches, another future project.

After
This room is also amazing.  It's pretty bare right now compared to before when it was loaded with stuff.  It needs a light on the other end and some personal touches would be nice, another day.


If you'd like to follow along with the varying projects from this house you can find links below:
A Work In Progress- Phase 1 Priming all that crazy paneling and starting floors
A Work In Progress- Phase 2 Landscaping
A Work In Progress- Phase 3 Kitchen and bath, living room and bedroom.
Lighting Fixes
Easy Peasy Backsplash
Updating 50's Cabinets

Wednesday, August 12, 2015

Bathroom Update

I've made my punch list and am working my way towards the finish line, slowly.  Things are really looking good and taking shape, still lots of little details to finish.  

Before I left on vacation I managed to get the flooring down and grouted while the backsplash, well, grouting will have to wait.  I've only worked one day since vacation and it took most of that time to get the grouting done.  Now, over the next couple days I need to finish off all the painting, cabinetry and walls.  After that there's still a handful of things on my punch list but I can see the light at the end of the tunnel!

Here's a look at the progress we've made:

I've already ripped up the nasty carpeting and pad, removing all the tack strips and staples as I went (you can see more about that in the Bathroom Project Update post).  All the base boards also need removed.

The little toilet room had a layer of plywood and then the vinyl on top.  That was a bear to remove but I hate dividing up a room with flooring and didn't want a bump up at this doorway so it needed to go.
  
After all the staples are out and baseboards removed its time to put down the durock.

You lay the durock in a layer of mortar as well as screwing it into the subfloor.

I wanted to add a little movement and interest to the floor so I opted to tile on the diagonal.  

I've never placed tile in a remodel, it's always been new construction so I went to the hardware store and started looking through the saws (figured I'd need a hacksaw to cut the door frames) and I found this little guy.  Wouldn't you know it, they make a tool for that!

I laid the majority of the tile on day 1 then came back the next day for all the cuts around the edges and doorways.  Lots of crazy cuts and man did that take forever!

Almost done!  If I was stronger this might have been a little easier.  If the space was larger, that would have helped as well.  As it was, this was an exhausting adventure in DIY, can't even tell you how happy I was to get that final piece out!

Tile is down. 

Grouted

This is how it was when I left for vacation.  I got it cleaned up and the majority of the tilework is complete (the backsplash still needs grouted).  

Grouted and here's a peek at the mirror and light fixtures.  Not sure I'm loving the mirror but if I need to I can do a dark rub and I think that'll fix it for me.

.  
Here's a look back at previous posts, we've come so far:


Friday, July 10, 2015

Quick Bathroom Update

Here's a peek at where this project started and a quick look into yesterday's progress.  I am back today to get it grouted and continue work on the floor.  I leave on vacation in a week, it won't be completely done but all the major renovations will be complete and I'll get you some Before & After's of the whole room at that time.  


This hugo mirror and the light fixtures really date the room.  My friend (who's bathroom this is) wanted to gut the entire area.  I talked her into keeping the vanity (yes, it's 20 years old but in great shape) and she ordered new marble.  We are also changing out the lights and mirror.  For minimal cost we've made a huge difference in the space.

First, I found a small cabinet for between the sinks.  They desperately need more storage and something to break up this huge expanse of countertop and wall space.  This is perfect.

 So far its got two coats of paint, not done yet but installing it today.  The rest can get done while its in position.

 This is the marble.  I am usually not a fan but this is really gorgeous!

 We have used two mosaic tile patterns in the space.  We fell in love with the left, larger pattern but it was twice the cost.  So, we used it in the shower area and opted to use the less expensive as a backsplash.  It blends  together really nicely..

I'm ready for my first tile to be installed.


 I stopped shy of the light fixtures with a full tile.  Debating going to the ceiling, stopping here or matching the tile height of the shower.  Gotta see what the new light base looks like up there and make a decision.

Moving along.

Done for today.

Heading back over to change out light fixtures and tile another six inches or so.  I also have a toilet room that needs durock today.  Lots of progress and still tons to do.
Related Posts Plugin for WordPress, Blogger...