Showing posts with label Journaling. Show all posts

Wednesday, April 5, 2017

Adorable Little Journal Book with A Sewn Pocket Protector


My mother visited this week and we snuck away a couple times to visit other Antique Malls in the area.  We had way too much fun and I found all kinds of great stuff.

One of my favorite finds is this wonderful little journal with a hand sewn and embellished book holder.  I thought mom and I might have a fight over this one (right in the middle of an aisle at the Antique Mall) but she graciously conceded to let me buy it.  We will both be trying to figure out how the binding works and making a few of these. 

It is just adorable!


There are ten little signatures in the book with four pieces of plain paper and one smaller decorative layer.  I know nothing about the way this little book is bound but I am completed enamored with it.  It looks like a crochet stitch.  I am determined to figure this out and make my own version.  What a treasure!


Never would I have thought to use a rubber stamp for the cover.  This is the back and the front seems to be a plain piece of rubber stamp material that's been decorated with other materials.


Look at how beautiful that is!  Anybody know what type of stitch this is?  How to do it?  I really want to figure this binding out.  Just gorgeous.

Monday, September 12, 2016

My First Topical Journal With Blended Techniques

This little journal has now become my new favorite, I know I say that a lot but seriously, I really love this one!

 I've blended a couple techniques giving it the best of both worlds, lots of space to journal for the more functional side of things, and paper bags with multiple pockets and a flap for all the artsy-fartsy decorations your little heart desires.
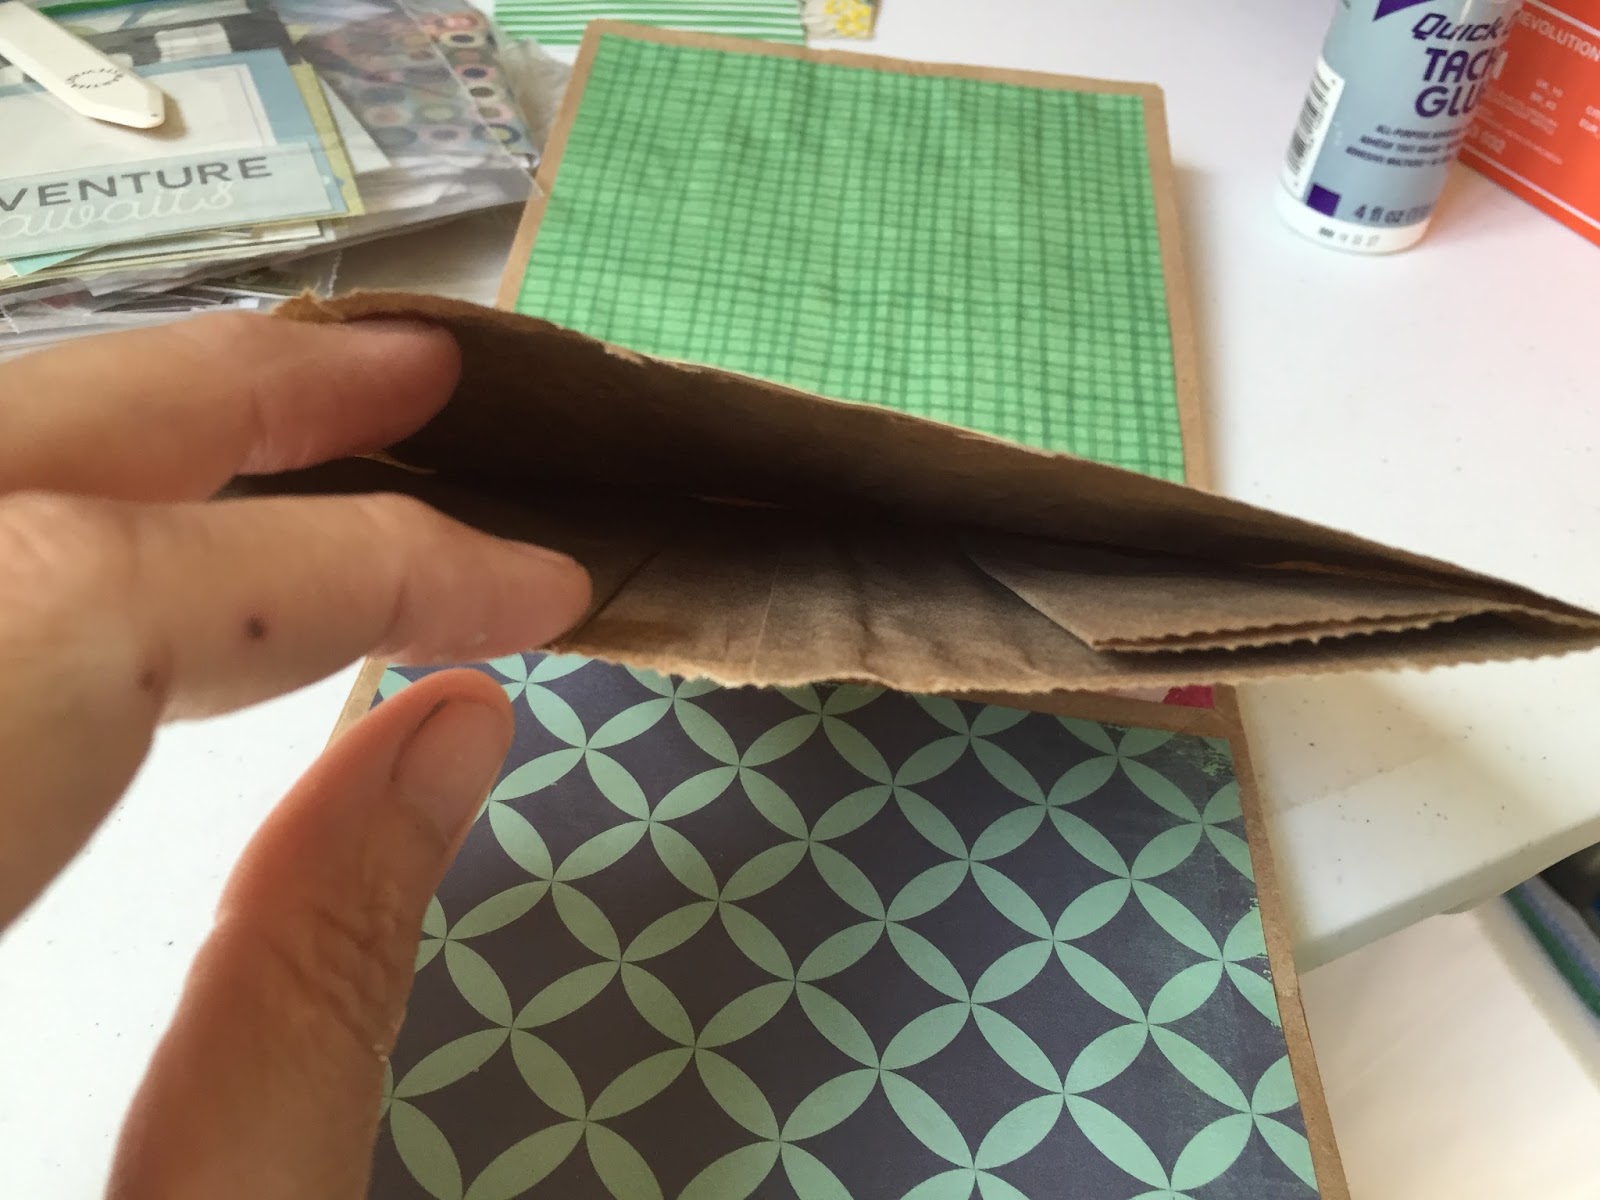
Here's the guts of the book.  Three paper bag pockets that I've gotten put together and covered with decorative papers and two signatures, roughly 6 pages each with some added extras I'll show you a little later on.  

I used chip board to create the cover....

... and created a hidden hinge for the binding.  I have to draw it out in order to get it right, All that scribbling probably makes absolutely no sense but this it was it looks like when it's done.


Once it's all glued together (there's three sheets of paper involved in the above hinge) I add it into the spine of the book.  The outer flaps get glued into the front and back cover of the book while the three central flaps are what hold the paper bag pockets.  The signatures will be sewn in later, between the pockets, like so:

Here it is ready to go:

This is the inside front cover and the first paper bag pocket.  I left it very lightly decorated.  This particular journal is going to a young women who has just suffered a tremendous loss that I can only imagine (and I don't know her very well) so I was very skimpy with the decor.  It's more about the value of journaling to the healing process and if she's ready someday to add some decor then she'll have the space to do so.

Here it is with the flap open.  The butterfly is a belly band tuck point, the bag bottom forms a pocket where I've added a small journal card and the bag itself becomes a pocket where I've put a mat board with a poem.


Here is the back side of the paper bag with another pocket and the start of the first journal signature.  They say coloring is very therapeutic so I've added a couple coloring pages.  This one depicts ocean waves and goes along with the poem in the pocket beforehand.

This first journal signature has a photo album that I've created as well.  There are four flaps with space for photos on either side and it's repeated towards the end of the signature.


Each signature has a poem attached in the center and lots of space to journal.

This is the end of the first journal signature and the start of the second paper bag pocket.

I've added a greeting card in this pocket and a simple piece of decorative paper with space to journal.  No other decorative elements for this pocket.

This is the second signature.  I had a few pieces of paper left from the photo album in the first one so I've added them here.

I have kept the personal touches very minimal but I did make this piece of paper from peppermint patty wrappers, it'll mean something to her.

This is a coloring page that I've added.  The right side is the back of a greeting card that I included into the signature.
 .

The final paper bag pocket.


I really love the mixed technique in this book, it's so versatile.  When we go on vacation I always come home, buy a photo album that has space next to the pictures and as I add them in I journal our days activities along side the pictures.  This is kind of perfect for that and there's space for all the wonderful pieces of ephemera I pick up along the way.

I will be teaching a Sunday School class starting in October and plan to make journals for the kids with the materials we use in class and lots of extras so they've got a usable journal at class end.

What other topics do you think a journal such as this could work for?

Saturday, August 13, 2016

My First Completed Manila Envelope Journal

As I'm sure you have figured out by now I've found a new passion..... Art Journals.  So many varieties to choose from and each one can be personalized and made uniquely yours.  They are quite addicting and I can't wait to get The Chirping Frog open so I can share this wonderfully creative outlet with you.  

This little journal is made using a manila envelope and is so simple to create.


The papers I've used are plain on the backside so I've used corrugated cardboard as a stamp to add some interest.

I've got a single signature of ten pieces of paper with a simple pamphlet stitch to attach it to the manila envelope.

The envelope has been cut at the bottom so that the front and back of the journal has a pocket.


This is the back of the journal.

I've added a small velcro closure.

I've done little to no decorating on this little journal, it's got lots of space to journal and would be great for everyday use, perfect for list keeping (if only I were that organized).  Such an easy little project and so versatile.  

Monday, August 1, 2016

How to Make a Lunch Bag Journal

This is one of my favorite little journals, such an easy project with lots of tuck points, pockets and places to journal.  You'll need six paper bags to get started.  Alternate every other bag so that the pockets and tuck points don't all line up (top to the left, next bag bottom on the left, third bag top to the left.... etc).  Mark the center point of the stack and sew them together.


I've cut my papers roughly 1/4" shy on all sides and started to glue them in.  Each bag will create a tuck point from the bottom and an open pocket at the top.

I use quick dry Aileen's tacky glue (seems to be my favorite of the glues I've tried so far) to tack the edges for the bottom of the bags, creating a tuck point.  I like to make the paper covering this portion slightly larger so that it hides any exposed bag when the tuck is in use.

Here's the pocket side before I've done anything to it.  I left some of the pockets open like this (they'll hold more) and closed some of them up along the edges (see the next couple pictures).


I cut photo mats and added some scrap papers, running a little bit of distressing ink over them.  Here's one side....

... and now the other.  I will add tabs or ribbon so they're easier to grab from the pockets to finish them off.

When I make journals I tend to be skimpy on the decorations.  As you'll see when I go thru it page by page at the end, not every tuck will have something in it, that's for when it's in use and I'm really not into all the frills, but I do like to add a taste of possibility.

One such decoration I created using the packaging from velcro closures (for an envelope journal I just got finished) to cut out a tag to decorate for one of the tuck points.

That's the little green tag with gold edges in the tuck point here....  Notice the heart button on the left page (I'll talk more about it later on).  You could also use it for a small tuck point. This is the first set of pages when you open the book, pages 1 and 2.

Pages 3 and 4, a tuck point made from a tag (glued at the bottom and left side) with an accordion folded piece of paper, I love the paper and the sentiments written within the arrows.  I added lines on the back side for a hidden spot to journal.  The left page has the pocket, you'll notice that the front and back sides of the page with the pocket is blank, as well as the opposite back side of every tuck point, so if you want more tuck points or pockets you'll need to create them.

Pages 5 and 6, the next picture shows the tuck point while this side has the pocket, you can see a photo mat popping out with a tab added for easy access.

I added a simple piece of paper from a notepad into the tuck point.

Pages 7 and 8, I added a belly band on the left page with an adorable vintage postcard, this is the side with the pocket.  The right page (which is the back side of a tuck spot) has a paper clip with ribbon that can be used to add ephemera and makes for a cute spot to journal.  Notice this journal has lots of blank pages giving you plenty of opportunity to add some personality and make it uniquely yours.

Pages 9 and 10.....

Another photo mat for the pocket.  This time I punched a hole and added ribbon.

Page 11 and 12, lots of spots to journal and a tuck point on the right page.  The orange paper with written sentiment attached hides the back side of eyelets you'll see in the next photo.  I really don't like the way the back of the eyelets look so I tend to hide them when possible.

pages 13 and 14, I've added a simple piece of ribbon through the eyelets and it makes a cute tuck point.  Opposite is more space to journal and another photo mat card with a tab.

Pages 15 and 16....

17 and 18.  I found an adorable set of playing cards, cut out a couple pieces of paper similar in size, poked a hole in them and attached  together with yarn.  The pocket on the opposite side holds a greeting card.

19 and 20.

21 and 22, I've attached an envelope by the closure that flips out to offer a cute spot to journal.  This is the last page of the book, I've glued down the pocket for added structure and added an eyelet for ribbon.


Hidden under the black button is an eyelet.  The heart shaped button you saw earlier is opposite this one and I've used it to tack the two together using quilting thread.  I've cut the ribbon extra long so that as I fill up the book with goodies it still has enough to close.

This is such an easy project I believe it's going to be my first Journal Class at the new shop, with some tweaks of course!  Here's the class schedule for the next couple months.  Lots of great classes to choose from.
Related Posts Plugin for WordPress, Blogger...