

A few years ago I tagged along with my husband to a Concrete Show in Nashville, similar to World of Concrete but on a much smaller scale (and it's not Vegas, ugh, Vegas is not for me). Anyhow, I took a couple classes. One was with a man named Ben Ashby who developed a concrete countertop system that I absolutely fell in love with. He really does some incredible stuff. He also has wonderful edge forms for really amazing, unique finishes. Fabulous stuff. You can find out more about The Ashby System here: http://countertopsolutions.net/wp/aboutus/about-the-concrete-countertop-ashby-system/.
My love affair with concrete prompted me to add a new postcard to my Cheat Sheet Postcard Series, a collection of postcards to collect and reference on a variety of topics. For your free Subscription to the series, click here: 10 Ways to Decorate Your Home with Concrete.

We came home from that trip completely inspired and started on our first piece using the Ashby technique.
I wanted to build a patio table with a curvy shape and interesting legs. We used whiteboard to "pour" our tabletop on and framed it out with melamine cut to depth and held it in place with small cuts of 2x4. We added a form liner to give us a rock edge. The guys mixed for me and I placed it into the form. Three colors were involved. There is a powder you place where the colors meet up that keeps them from bleeding together, it also leaves a void wherever it's placed. I didn't spend the extra money on the special powder, I used baking soda. It worked pretty well.
Here's a couple pictures of how I placed the colors to introduce the veining.
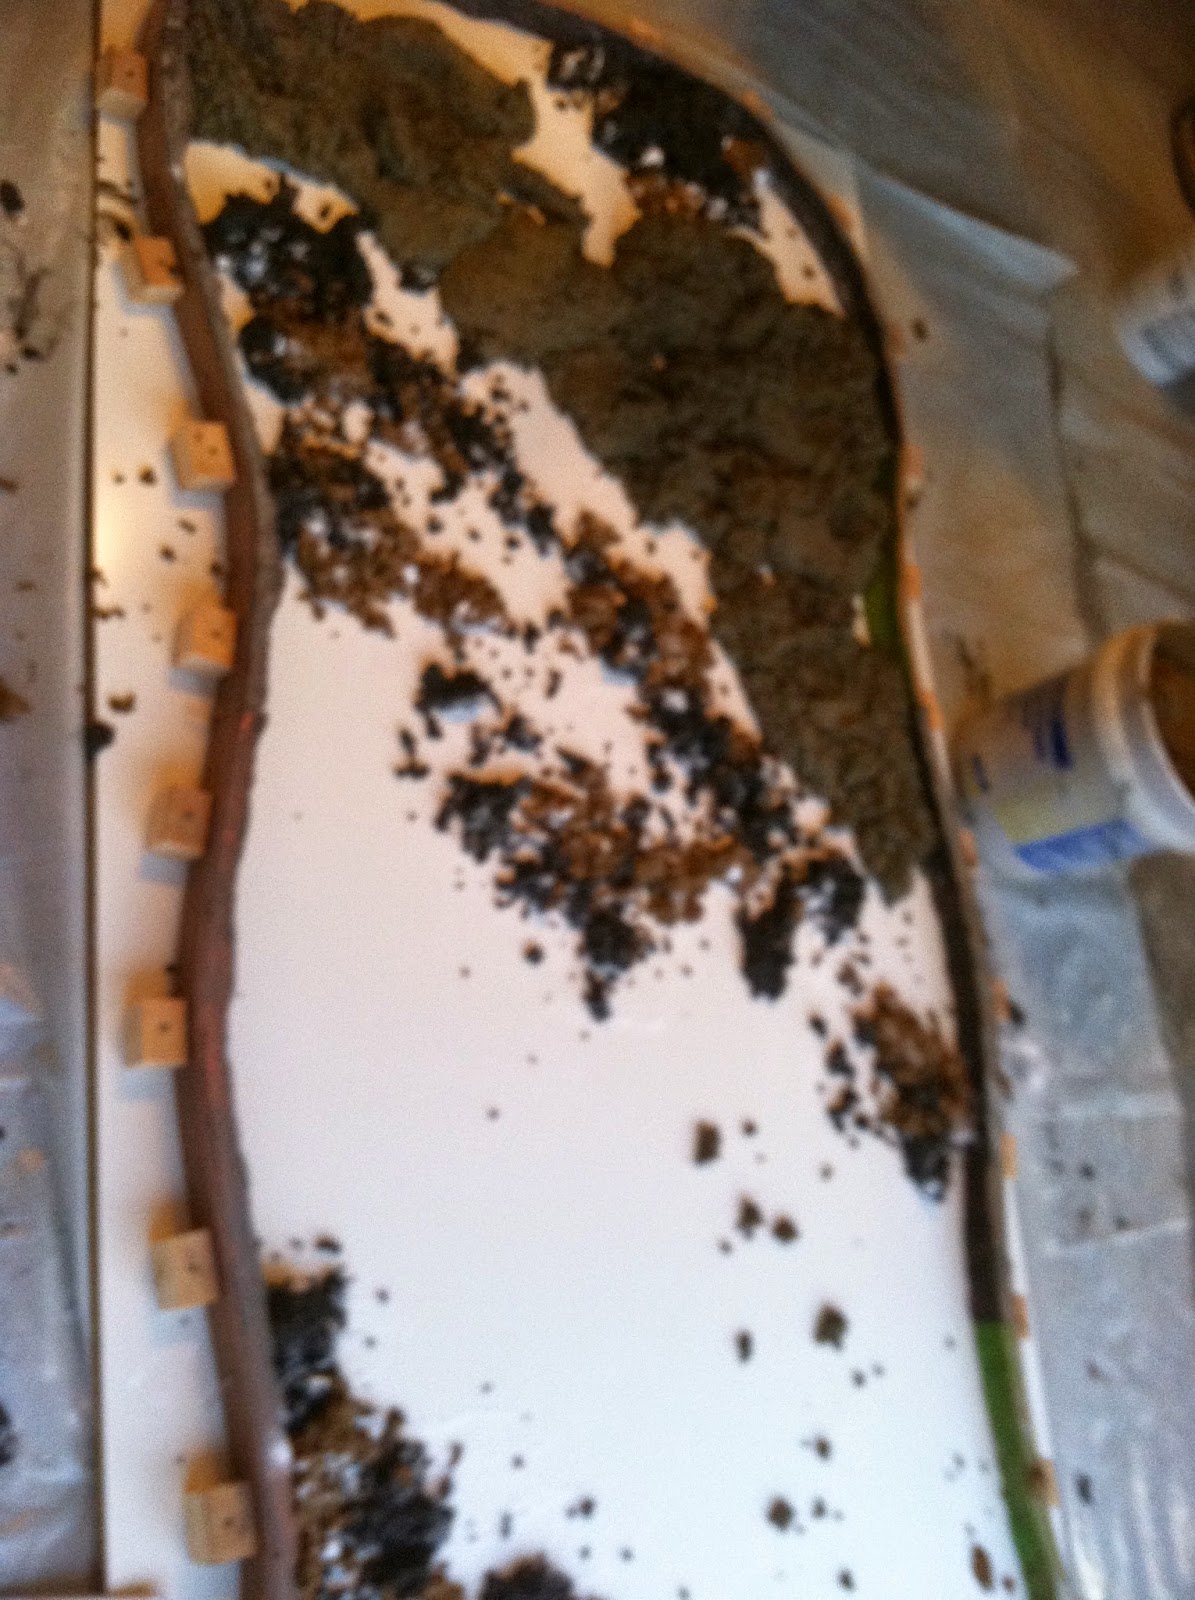

And now it's all filled in and ready to cure for a little while before we remove the forms

We had some leftovers so my son placed them into a sonotube and made his own piece. You can see the white powder, baking soda, which I used to help keep the colors separated.

When it was time to remove the forms and flip the table it took all of us (my husband, both kids and myself, we really weren't much help). I cannot believe we didn't break it. Here's how it came out of the forms. I am in love with it as is but I still need to pick my slurry and fill in the voids.


You can see how the table colors begin to change when you add the slurry.

Now, let's talk about those legs. I wanted tree stump legs so we played with a design (well, my husband played with the design) and came up with a plan for the base and then I used a vertical concrete mix (called TruPac) in order to carve out the stumps.
Here's a look into that process:
My husband started by using a sonotube and then gluing and burning strips of Styrofoam to add some interesting dimension and shape. Then, he filled it with concrete to form the base that I would apply a carve coat to.
Here's what the bases look like out of the form.


And here they are with the carve coat.


Stained and ready to go.

Here's a couple shots completed and in place. We poured in the garage and then carried it out to the patio. Jason called in reinforcements for this one. It took six men to get it in place, it's heavy!


I really love the look of this technique and am hoping to work on some countertops in the near future. Have you done any interesting concrete work? I'd love to see your handi-work.
For a free subscription to my Cheat Sheet Postcard Series, a collection of quick reference postcards dealing with a variety of topics, click here: 10 Ways to Decorate Your Home with Concrete.


Can you please tell me where to get the edging that you used ? Please e-mail me at greyrascal1959@yahoo.com
ReplyDelete