Friday, January 30, 2015

Art Challenge 2015- Card 4

Welcome to my Art Challenge 2015.  This week for me is all about time, time management actually.  Not my forte'.  I tend to get overwhelmed and just shut down when things begin to pile up.  I really hate that about myself.  This week has been a week of playing catch up and it feels good to be digging out, finally.
 
I began my card with strips cut from old magazines.  I placed them diagonally across the page and then cut them to fit the card.
 
 I used a flower cut-out from wrapping paper as a "clock" base.
I colored it in a little bit and added clock features then wrote "Time Waits For No Man!"  on the edge of the card.  I need to go buy supplies so I can grommet the clock hands on.  I glued them instead. 
 
I chose this particular card because the back already had what looked like a "clock" from the prepwork process.  I chose to do some line drawing around the edges to fill them in.
 
 Then wrote the many things that divide my time, fill my day and pull me in so many directions within the spaces of the "clock".
 
Will I ever get better at time management?  Probably not!  I tend to throw too many things on my to-do list, not get enough done and then get annoyed with myself for "failing".  Anybody else do this?  How do you help yourself to better manage your time? 


Thursday, January 29, 2015

Carved Vertical Concrete Retaining Wall

Do you have an ugly concrete raining wall, we had two?  I hate looking at them. When we built the house I knew something would have to be done to hide them. I took a class or two and voila'.... a unique, OOAK carved rock wall. Much better.

We started with a blank wall and my husband wanted to add "bump-outs." That's the beginning of what you're seeing with the rebar. The hole you see at the top is for a waterfall (when we poured the wall and the upper patio we also added piping for this, and anything else you could possibly imagine).  
 
Before I can get to the carve coat we had to get a scratch coat on everything, you can see it in the following picture. 
 
I started in the corner with the carve coat and worked my way around. It took me a couple weeks to finish it. I worked alone most of the time. Mixing, throwing and carving wears me out so I don't get as far in a day by myself as I could if I had someone doing the mixing. 
 
The product I use is called Tru-pac and each bag of it gets mixed with a 60lb. bag of mortar, then you literally throw it onto the wall.  It's a fascinating product and so versatile.  So much fun to play with.
 
It also rained on me so I made a "make-shift" tent so I could continue working.  I'm no tent-builder that's for sure, but it worked.
 
 
For the area directly under the stairs I had to be in the lake....yeah....I jumped out of my skin a couple times. The fish "hunt" right here around the edge and a good sized snake hangs out in some rock right near here. Stinkin' bass made a quick dart and splashed and I nearly came out of my boots!

Got some staining done.


Except for the bridge, it's done.  At the bottom of the stairs we poured individual "planks" that we need to get set in.  Other than that, its' done! 


This was my first project.  Other than a few sample boards, playing around with multiple mixes to see which one I liked the best, this was my first Hoorah!  Had a great time.  Since then I've done a fire pit in the center of the patio right in front of this wall, a fireplace inside a house, another waterfall for my BIL, a pool surround and a man-cave.  Each project is unique and OOAK.  Can't wait for spring and a few more projects. 

Have you done anything unique to a concrete retaining wall?  Would love to see what you've done.

Saturday, January 24, 2015

Art Challenge 2015- Card 3

If you've missed previous posts, I offered up an Art Challenge for the New Year.  I am making an Art Journal that is a 52 card reflection of the weeks as they pass. This is week 3.  Here's some links to week1 & 2.
 
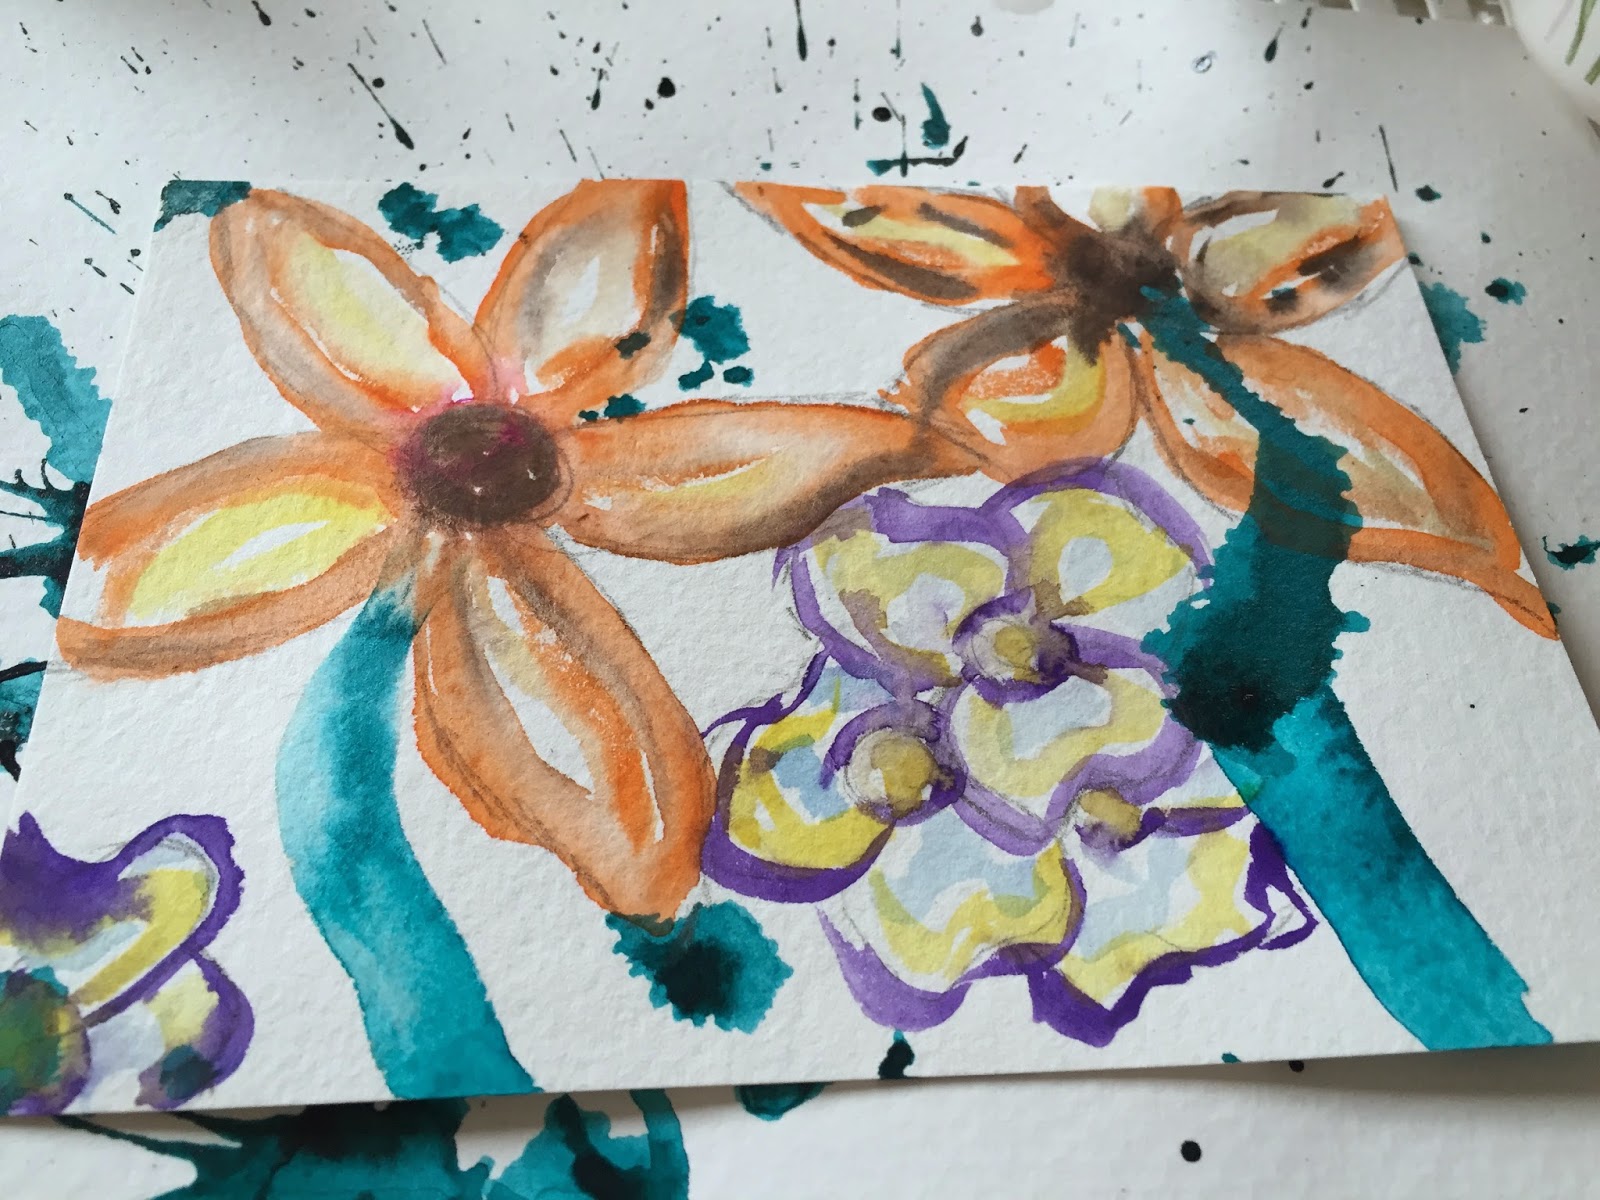
To begin this week I simply chose a card that I'd already done a little background work too (here's the link for prepwork).  I started with the back this week, I planned to focus on spring.  I am suffering from a major case of spring fever these days.  The weather has warmed up just enough to tease me.  I used watercolors and drew in a couple flowers.
I filled in the negative space with a soft yellow and added the number "56", which I looked up, that's how many days till Spring.  Come on Spring!
 I also added a couple buttons, one is functional, you'll see why when we get to the front of the card and the other is purely decorative.
 
While that side dries I cut out a girl from a tin and also a floral skirt.  My mom and I have decided to go to Bead N Button again this year.  Can't wait!  One of the things I want to play with is cutting up and using pieces of tin in my jewelry making.  Mom is planning to give me a lesson or two while we are there.  In the meantime, I received a couple books from her this week on Mixed Media Dolls and Tinwork.  Very cool stuff.  That is really the inspiration for the front side of my card this week. 
 I used super glue to attach the skirt.
 I also cut out some floral for decoration and poked a hole in the girl and the flowers.  Then, Miss Pepper and I went for a walk to let everything dry and enjoy a small portion of another beautiful day!
 When we returned, I used a  needle and thread to "stitch" the girl to my card going through to the button on the back.  I added a small drop of glue to the flowers so they don't twist.  There is also a button hidden between the flowers and the girl tin so that it has some dimension as well.  I knotted the thread on the other side and added the cute little green flower button to hide it. 
 The teal "tendrils" are part of the prepwork process.  I added some greenery around my little girls feet as well. 

Again, I'm not the best artist and Art Journaling is a brand new endeavor, my goal is to learn a new technique each week, incorporating it into that week's card. 
 
Hope you've found a craft to work on and maybe learnt a little something new yourself.  Remember, if you'd like to share your art let me know and I can add you to the group board I created on Pinterest.
 
Looking forward to next week!

Friday, January 23, 2015

Decorative Touches That Won't Break The Bank!

A huge portion of the budget in this room went towards the built-in's. Much needed storage, but we still had to finish the rest of the room. Here's a few examples of ways to save some money and still get the decorative touches you want.

Do you sew? Really a basic straight stitch is all you need to make some fabulous accessories. Mix and match your patterns, add trims/piping for a "finished" look. Think outside the box when picking fabrics. Things like shower curtains/tablecloths/sheets/dropcloths make great cushions and window treatments for a fraction of the cost.
 
I made the headboard, we had the fabric monogrammed and then applied to the headboard. A very simple project- just cut the piece of plywood to your desired shape, add some padding and stretch fabric, stapling to the back. The duvet came from a discount store and I simply added a pop of color to it. The possibilities are endless. I also made a skirt for the bed using Velcro to attach it. Makes it so much easier to take off for washing.
 
Don't forget the ceiling. We added a medallion. One of the accent fabrics we used is a large floral so I made a "flower" for the ceiling. Love how it turned out.
 
If you think outside the box you can come up with all kinds of great ways to save yourself some money, yet get a great functional, beautifully decorated room.  Happy Decorating!


Thursday, January 22, 2015

Log Bench Project

My husband went hunting a couple weeks ago and brought home a couple large logs, some became firewood and others, well, we played this afternoon and have a couple benches ready for finishing. Great fun.

This is what we started out with. It's roughly 10' long. First thing was to cut it in half giving us two 5' lengths to work with.
 
If you look closely you can see two blue chalk lines. That's where he'd like to cut. That'll give us one central piece and two outside edges. I'm thinking a table for the center cut and benches for the outer pieces.
 
The goal was to stand this piece up to cut but the Bobcat died on us (we are still working on getting it started again) and between the two of us (him mainly) we could not get this lifted up. Not happening, so we wedged pieces of 2x4 underneath to raise it up for cutting.
 
One side off.
 
Now, with one edge off we were able to get it standing. You can see the other blue cut line.
 
Both sides off. This is the central piece that would make one heck of a chunky table. I might make it a bench also but either way I want it to have concrete legs. It has such a great clean look and I love the look of concrete and wood together.
 
He cut at an angle to chunk out a piece on the top of these two smaller logs roughly 18" in length to set the top into. Worked really well.
 
 
For Christmas, my wonderful hubby bought me a planer and belt sander.  We spent one of the next days outside working on them.  Can you believe in Illinois it was warm enough to do such a thing?
 
Look how rough they were to start and how nice and smooth the planer makes them.  It took a couple passes but they did great!
 
I read the directions before beginning and they mentioned adding extra wood to the end of the piece so that when you finish each run you finish on a spare piece of wood rather than your finish piece.  Yeah, well, I read the directions, just didn't follow them to the letter.  This is what happens!  See that divet.  If you're careful and apply pressure correctly you can keep it from happening but every once in a while I'd screw up and get that!  No worries, it sands out.
 
What a great tool.  I love my new planer.  Can't wait to play with it some more.
 
The belt sander worked great too! 
 
Here is how we left things.  We need to check moisture before we move on.  Hoping to do that real quick.  I've got two center pieces that I'd like to turn into tables ready to go.  They're planed, just need sanded.  Spring can't come soon enough.  Can't wait to show you the finished products!


Tuesday, January 20, 2015

My favorite Color Combo for 2015

I created a board on Pinterest called Color Combos where I add color chips composed of combinations I love or rooms decorated beautifully with interesting combinations of color.  My favorite, by far, is Orange and Turquoise.  Makes me smile every time I see it.  Happy, happy, happy!
 
Here's a few of my favorite pins:
 
 
This just makes me grin ear to ear.  If you follow the link you'll find even more eye-catching photos.  Lovely space.

This is one I could easily do to get a little turquoise and orange around here.  Lovely!


This has got to be the cheeriest kitchen I've ever seen.  Lightens my mood just looking at it.


I must find ways to incorporate turquoise and orange into my home.  I just LOVE it!

Do you have a favorite color combo?  Let's see it.  Feel free to share.


Saturday, January 17, 2015

Hamburger Patties with Roasted Carrots

I do believe this diet is going to get the best of us.  I am hungry most of the time and my husband feels like he's starving to death.  There are no fillers, so your body never registers as full.  We fill like we're "missing something".  It gets better over time but never completely goes away. 
 
Every night I hear, "I'm starving".  This was our dinner tonight.  Roasted carrots, which I love and my husband chokes down.  All I do is cut them up, put them in a plastic baggy.  Add some olive oil, salt and pepper, then throw them in the oven till they're tender.  @400. 
 

So Good!
 
 
 The main course is a simple hamburger patty.  No bun and no condiments.  I mix in pepper (I used red and jalapeno's) and onion, a little bit of garlic powder and a dash of milk (if I have it).  Not on the diet and Worcestershire sauce makes it in as well, not tonight.
 Fry them up in a pan and they're an easy, tasty dinner.  Cheese is a treat.  I think dairy causes my husband some problems (he deals with migraines) so we are trying to cut back on that as well.  We did add some cottage cheese and pears to complete the meal.
It was very good, just no fillers.  You eat, finish everything and really just want a handful of chips.  That's awful, but true!
 
The patties are wonderful if you have deer meat as well.  Tomorrow, pork tenderloin and sweet potato (for me, he hates sweet potato, I'll have to figure out something else for him).   To make the pork tenderloin compatible with our diet I'll have to leave out the BBQ sauce, no condiments allowed. 

Related Posts Plugin for WordPress, Blogger...