
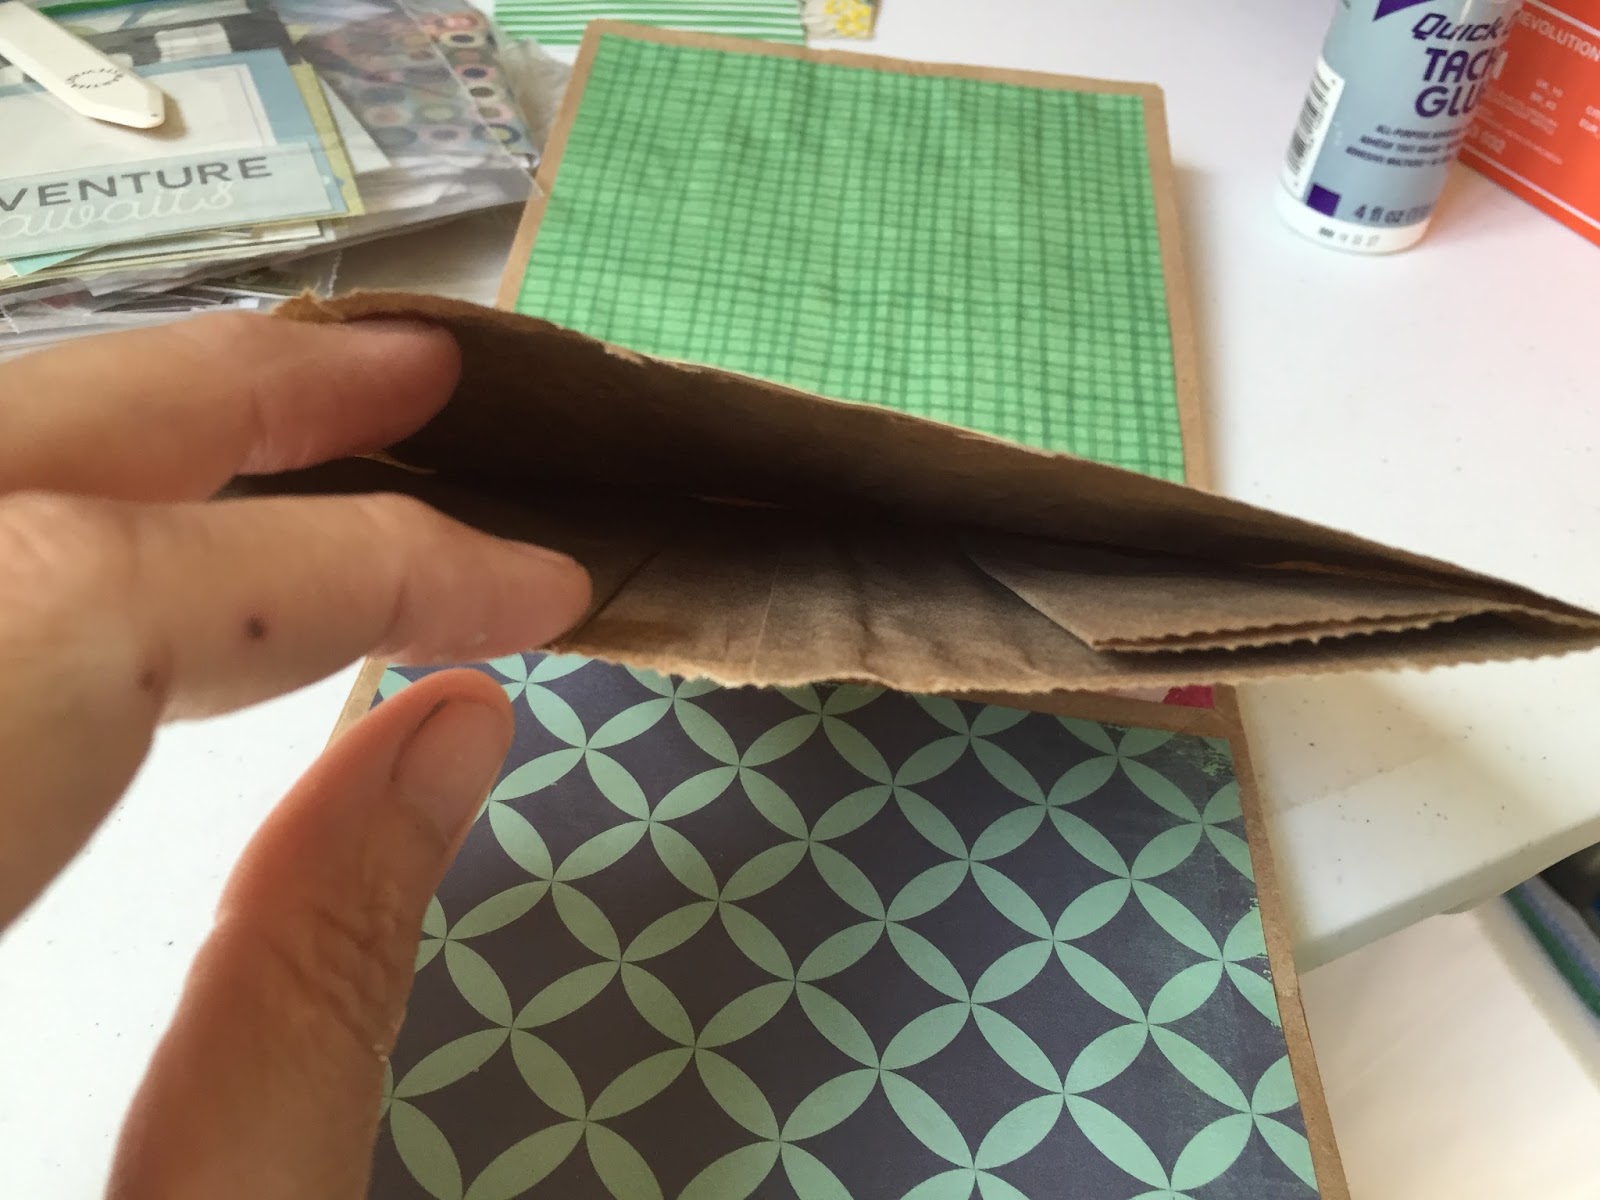
This is one of my favorite little journals, such an easy project with lots of tuck points, pockets and places to journal. You'll need six paper bags to get started. Alternate every other bag so that the pockets and tuck points don't all line up (top to the left, next bag bottom on the left, third bag top to the left.... etc). Mark the center point of the stack and sew them together.


I've cut my papers roughly 1/4" shy on all sides and started to glue them in. Each bag will create a tuck point from the bottom and an open pocket at the top.

I use quick dry Aileen's tacky glue (seems to be my favorite of the glues I've tried so far) to tack the edges for the bottom of the bags, creating a tuck point. I like to make the paper covering this portion slightly larger so that it hides any exposed bag when the tuck is in use.

Here's the pocket side before I've done anything to it. I left some of the pockets open like this (they'll hold more) and closed some of them up along the edges (see the next couple pictures).


I cut photo mats and added some scrap papers, running a little bit of distressing ink over them. Here's one side....

... and now the other. I will add tabs or ribbon so they're easier to grab from the pockets to finish them off.

When I make journals I tend to be skimpy on the decorations. As you'll see when I go thru it page by page at the end, not every tuck will have something in it, that's for when it's in use and I'm really not into all the frills, but I do like to add a taste of possibility.
One such decoration I created using the packaging from velcro closures (for an envelope journal I just got finished) to cut out a tag to decorate for one of the tuck points.

That's the little green tag with gold edges in the tuck point here.... Notice the heart button on the left page (I'll talk more about it later on). You could also use it for a small tuck point. This is the first set of pages when you open the book, pages 1 and 2.

Pages 3 and 4, a tuck point made from a tag (glued at the bottom and left side) with an accordion folded piece of paper, I love the paper and the sentiments written within the arrows. I added lines on the back side for a hidden spot to journal. The left page has the pocket, you'll notice that the front and back sides of the page with the pocket is blank, as well as the opposite back side of every tuck point, so if you want more tuck points or pockets you'll need to create them.

Pages 5 and 6, the next picture shows the tuck point while this side has the pocket, you can see a photo mat popping out with a tab added for easy access.

I added a simple piece of paper from a notepad into the tuck point.

Pages 7 and 8, I added a belly band on the left page with an adorable vintage postcard, this is the side with the pocket. The right page (which is the back side of a tuck spot) has a paper clip with ribbon that can be used to add ephemera and makes for a cute spot to journal. Notice this journal has lots of blank pages giving you plenty of opportunity to add some personality and make it uniquely yours.

Pages 9 and 10.....

Another photo mat for the pocket. This time I punched a hole and added ribbon.

Page 11 and 12, lots of spots to journal and a tuck point on the right page. The orange paper with written sentiment attached hides the back side of eyelets you'll see in the next photo. I really don't like the way the back of the eyelets look so I tend to hide them when possible.

pages 13 and 14, I've added a simple piece of ribbon through the eyelets and it makes a cute tuck point. Opposite is more space to journal and another photo mat card with a tab.

Pages 15 and 16....

17 and 18. I found an adorable set of playing cards, cut out a couple pieces of paper similar in size, poked a hole in them and attached together with yarn. The pocket on the opposite side holds a greeting card.

19 and 20.

21 and 22, I've attached an envelope by the closure that flips out to offer a cute spot to journal. This is the last page of the book, I've glued down the pocket for added structure and added an eyelet for ribbon.


Hidden under the black button is an eyelet. The heart shaped button you saw earlier is opposite this one and I've used it to tack the two together using quilting thread. I've cut the ribbon extra long so that as I fill up the book with goodies it still has enough to close.

This is such an easy project I believe it's going to be my first Journal Class at the new shop, with some tweaks of course! Here's the class schedule for the next couple months. Lots of great classes to choose from.


No comments:
Post a Comment