Friday, July 22, 2016

18 Clever Ways to Re-purpose Old Belts

I can't even tell you how many old belts I've thrown out around here,  I'm kicking myself.  Look at all the fabulous things I could have done with them.  
 
How about a wreath?  I love the different colors and textures with a gleam of metal splattered throughout.  
jillruth.com
This is such a great idea.  You could use any extra you might have for bracelets and the buckles make great jewelry pendants with a little added bling (or closures for art journals, might have to try that one out).
shelterness.com

Cute idea to add a little something to a plain bucket.
Mine Own Little World on Hometalk
So many possibilities here, pick your design and fill it in with a variety of belts.  So cute, what design would you choose?
usefuldiyprojects.com
Cute way to hang a decorative shelf.
OffPonce on Etsy
Another great idea.  Turn that belt into drawer pulls or knobs (by folding it into a loop) for furniture.
girlinthegarage.net
Jazz up a plain wood frame with a decorative belt.  You could even add a little stain/paint to give it a little something extra.
coolmompicks.com
They make gorgeous bracelets and you could get quite a few from one belt.  Change out the bling and the possibilities are endless.
RocaJewleryDesigns on Etsy
This one isn't so practical for me (I need a lot bigger bag than that) but such a cute idea.
seed time
Not even thinking about Christmas yet, if you are, this is cute too!
refreshliving.us


I have a purse that I washed and ruined the handle.  Cute little purse so I hate to throw it away but the handle looks hideous.  Wouldn't have thought of this but what a great idea, now to find the perfect belt for the project.
from Pinterest
Cute way to dress up a candle.
jenniferrizzo.com

Looks like an old picture frame with belt handles and decorate belts for the bottom of the tray.  Very cute!
acultivatednest.com

You know I had to sneak something about art journaling in.  This I just love.  What a great binding made from an old leather belt.  My mind-wheels are churning away figuring out how they did that, I must try it sometime.
 from Pinterest

Great alternative to a ribbon board.
beyondthepicketfence.blogspot.com

That's a door!  Very cool.
 from Pinterest

If you love southwestern style decor you really need to visit this site, great stuff.  This table caught my eye.  The concept could work on the wood wire wheels you see at every vintage market you'll ever go to.  Scour the internet, you can find them for free or minimal cost.  Would make an adorable table.
lizzy and me western decor
Lastly, they are being used for flooring.  Not sure I can jump on board with that one, can't imagine the cleaning would be all that easy (I've seen entire rooms done in belts and stair treads, gorgeous) but how about a rug.  Beautiful!
dishfunctionaldesigns.blogspot.com
I don't know about you but I am so inspired and on the lookout for belts now.  Have you made anything creative with belts?   I haven't, yet but I plan too.  

Thursday, July 21, 2016

Building The Chirping Frog- Part 18

I am still pinching myself that this is really happening.  The building is coming together and before long we'll be closed up and ready to get the inside mechanics and finishes going.  I am so excited and cannot wait to open The Chirping Frog (a new Antique & More Mall in Worden, IL right off I-55 and route 4).  

Jason and I started framing the interior walls last weekend.  Tonight we'll be finishing that up and moving on to the next project (not sure exactly what that is yet, there's plenty of work to do).  

We started by framing in a "bulkhead" above the bathrooms.  There'll be access from the storage room at the right.  Just an added bit of storage.

This is the storage room.

I told Jason on multiple occasions that I wish he had better help.  I carry things around and hand tools but when it comes to raising these taller walls, I'm no help at all.  They're way too heavy.

Next, we worked on the entryway.  Everything gets formed up on the ground right where its going to be installed and then lifted up.  There will be a small vestibule, with a wood top that I'll be able to use for display of some kind.

It still needs a plywood top and the door, of course but I can see the finished product and I can't wait!

The guys are continuing work on the siding and getting all the trimwork and soffit completed. Here's the back of the building.  This afternoon when I left they had finished the majority of the front (except the area that needs cut around the front entry) and were wrapping the corner.  Tonight, when I head back up there to meet Jason there might just be a window or two installed.  How exciting!

They also got the front door installed the end of last week.

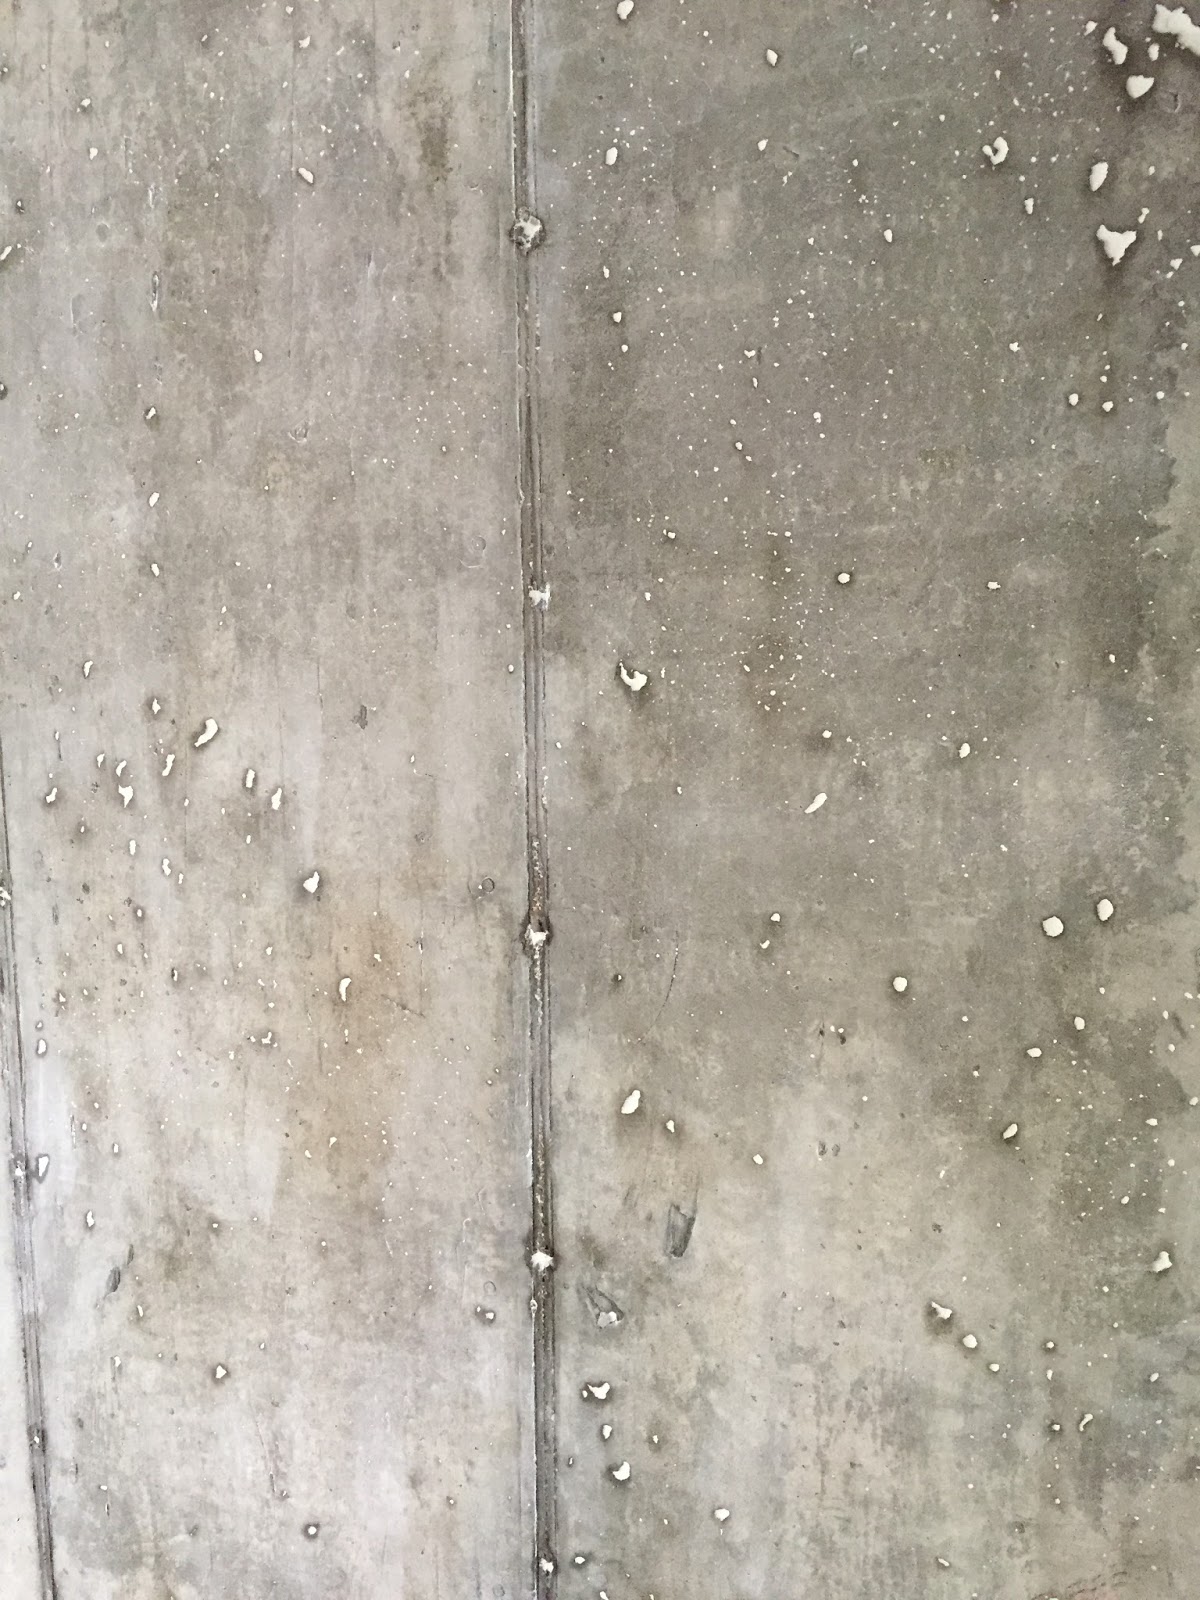
I have been working on getting the interior bathroom walls grouted.  Even though we vibrated them a lot when pouring, there's still plenty of pockets in the finished walls.  I really like them myself and will probably leave them alone on the exterior of the bathrooms but want them filled in for the interior.  Its taking forever but slowly I'm chipping away at getting them grouted.

It really doesn't make a huge difference but will add a layer of interest for the finished look and make them easier to clean.

Earlier this week Jason tried to lift this wall with just me, yeah, not gonna happen.  We ended up getting everything put together and the guys working on the outside helped him get them standing early one morning.  They are just way too much for him to handle alone and I'm not any help.

When I got there this morning to start grouting, the walls were up, looks so good.  This is the view from the back towards the front door.  There will be a couple cases against the facing wall and the majority of the cases will be in a couple rows behind the left wall.

Here's the view from the vestibule.  You will be able to see thru into a booth or two and then the area to the right will be where the majority of the cases are located.  You will be able to see into the booths beyond but not as good as this makes it appear.  The area between the walls (the left side of the picture) is the employee and check-out space.  

Things are really coming together and before you know it we'll be up and running, ready for business.  I cannot wait!  

Here's weekly updates from the beginning if you're interested:
  • Part 1- Clean-up
  • Part 2- Dirt Work
  • Part 3- Tons of Rock & Footings 
  • Part 4- Foundation Walls
  • Part 5- Foundation Walls Poured
  • Part 6- Forming Bathroom Walls
  • Part 7- Bathroom Walls Poured
  • Part 8- Rock, rock and more rock!
  • Part 9- Concrete Floor Pour
  • Part 10- Clean-up
  • Part 11- Framing is Underway
  • Part 12- Trusses
  • Part 13- Trusses Are Up
  • Part 14- Metal Started on Roof
  • Part 15- Roof and Concrete Wainscoting
  • Part 16- More Carved Concrete and Pine Log Entry gets installed  
  • Part 17- Concrete gets stained, doors installed and grouted, still working on getting us closed up.  
I've also got the contract being reviewed and am planning to get a meeting scheduled so we can take a look at it, have a Q/A session and get things signed and official.  Hopefully the first part of August.

If you've got any ideas for classes or would be interested in teaching a class please contact me.  I'd like to get a class schedule put together and start advertising.  I have some ideas for jewelry and journals of course but would like to offer a vast selection and possibly host "crop" nights or something comparable as well in a variety of topics.  If you've got any thoughts on what you'd like to see please share.

Can't wait to see what next week brings!

Friday, July 15, 2016

"Believe in Yourself" Mini Journal Pendant Necklace

Shortly after Christmas I spent a week with my mom crafting and thrifting, boy did we have fun.  One of the projects I worked on was this mini journal that I planned to turn into a pendant.  It's taken me a long time to get back to it but finally, here it is:

I started with a candy box cut to size, covered in cardstock and a greeting card.  I cut the card in half and glued it onto the front and back of my cover (pay attention, the first one I did, you can see it in the background, I ran the wrong direction, oops.)

I then used some scrap papers to make two small signatures.

I added grommets to attach the necklace and sewed the signatures with hemp cord.

I found a necklace at a local antique mall that I cut apart and used portions of for the chain, with a few wire-wrapped beads and a key mixed in.

Still need to add some decorative touches to the pages and a closure.  I've "finished" multiple journals but not a single one of them has a closure.  Just not sure what I want to do.  I could go with a button and ribbon or stretchy cord but that's just too expected.... think I need a trip into town to visit the hardware store and see what I can come up with.

I call it "Believe in Yourself, That's the Key!"  

Wednesday, July 13, 2016

Building The Chirping Frog- Part 17

With every passing week we get a little bit closer to opening The Chirping Frog, an Antique & More shopping mall with a variety of Antiques, Collectibles, Vintage, Home Decor, Furniture, Artisan Wares and Repurposed items.  Lots to do and time just keeps on ticking. 

Jason and I (well, mainly Jason) spent the 4th installing the bathroom doors and the next week getting them caulked and grouted (what a messy endeavor that is).


 After drilling a hole (or two) into the door frame you pump grout into the cavity.  Bondo will hide the hole and I'll paint the frames.  Thinking of decoupaging the doors themselves.

The guys got the other door frames installed as well.  One step closer to getting this place closed up.


The entry now has some roofing.

I'm in love with the entry.  We've had some problems with the metal which are too numerous to even mention but that got resolved, slowed us down (we should be getting used to that by now) but resolved, once the right stuff gets here things should move right along.  I just can't wait to get this place closed up.

Got some color on the carved concrete wainscoting and its sealed, ready for the wall panels to get installed, yippeee!


The windows are here!

Still a ton of work to be done but things are moving right along.  Here's weekly updates from the beginning if you're interested:
I am so excited and cannot wait to get The Chirping Frog up and running.  If you're looking for space to rent we're filling up fast, better hop to it. 

Friday, July 8, 2016

12 Creative DIY Projects to Re-purpose Rolling Pins


In years past I fell in love with a carved rolling pin at a local antique shop.  I tend to gravitate towards rolling pins for some odd reason (not much of a baker) but I still have yet to purchase any, thinking I need to break down and buy me a gorgeous carved one to start my collection.   

While cleaning out my grandmother's home I came across multiple well-used rolling pins (nothing fancy) that I'd like to keep around since they belonged to grammy.   Here's a few examples of creative ways to re-purpose rolling pins into functional decorative elements for your home.

How about a coat rack for the entry or towel hooks in the bathroom?  A great way to display a decorative collection.
creative ways to repurpose old kitchen stuff by architecturendesign.net
Add some silverware for smaller items like hot pads, keys, coffee cups, etc.
itsforthehome.com
Makes an adorable tiered tray.
craftstorageideas.com
Cute way to display a decorative towel in the kitchen.
Found on Hometalk
The rolling pins could be decorated in a variety of ways to meet your needs and then used as bookends.
modpodgerocksblog.com
wheelerwilliam on Etsy
It's a little early for Christmas Decor but I couldn't resist, this is just adorable!
organizedclutter.net
What about a wind chime.  Really cute idea.
passingtimeandchime on Etsy
How about using them for stamps.  So easy and you can personalize them in so many ways to make the design uniquely yours.
tidbits-cami.com
alisaburke.blogspot.com
I don't know about you but I'm always looking for my recipe card in the mess surrounding my cooking space.  This is a great idea to keep it up off the counter and easily accessible.
knickoftime.net
Love the idea of using rolling pins for hanging window treatments.  Again, so many possibilities and ways you could personalize this to make it your own.  Great idea!
yourhouseandgarden.com
People are so creative.  I couldn't find a picture but I've also seen a rolling pin lamp.  Adorable!  Have you made anything cute with rolling pins?  Come on, inspire us, we'd love to see what you've done.
Related Posts Plugin for WordPress, Blogger...