Saturday, February 28, 2015

Art Challenge 2015

Well, it's been one of those weeks.  I haven't had a chance to work on my weekly challenge yet, week 8 let's just say is still "processing".  I have tried to play catch-up with the 21 Day Art Journal Challenge that I am also involved in.  It's been wonderful, and time-consuming.  I'm behind with it also, but eh, I'm working on it.
 
As soon as I can get my weekly card (#8) done I'll get it posted.  For now, here's day 8-11 for the weekly challenge with a little bit of my process as well.
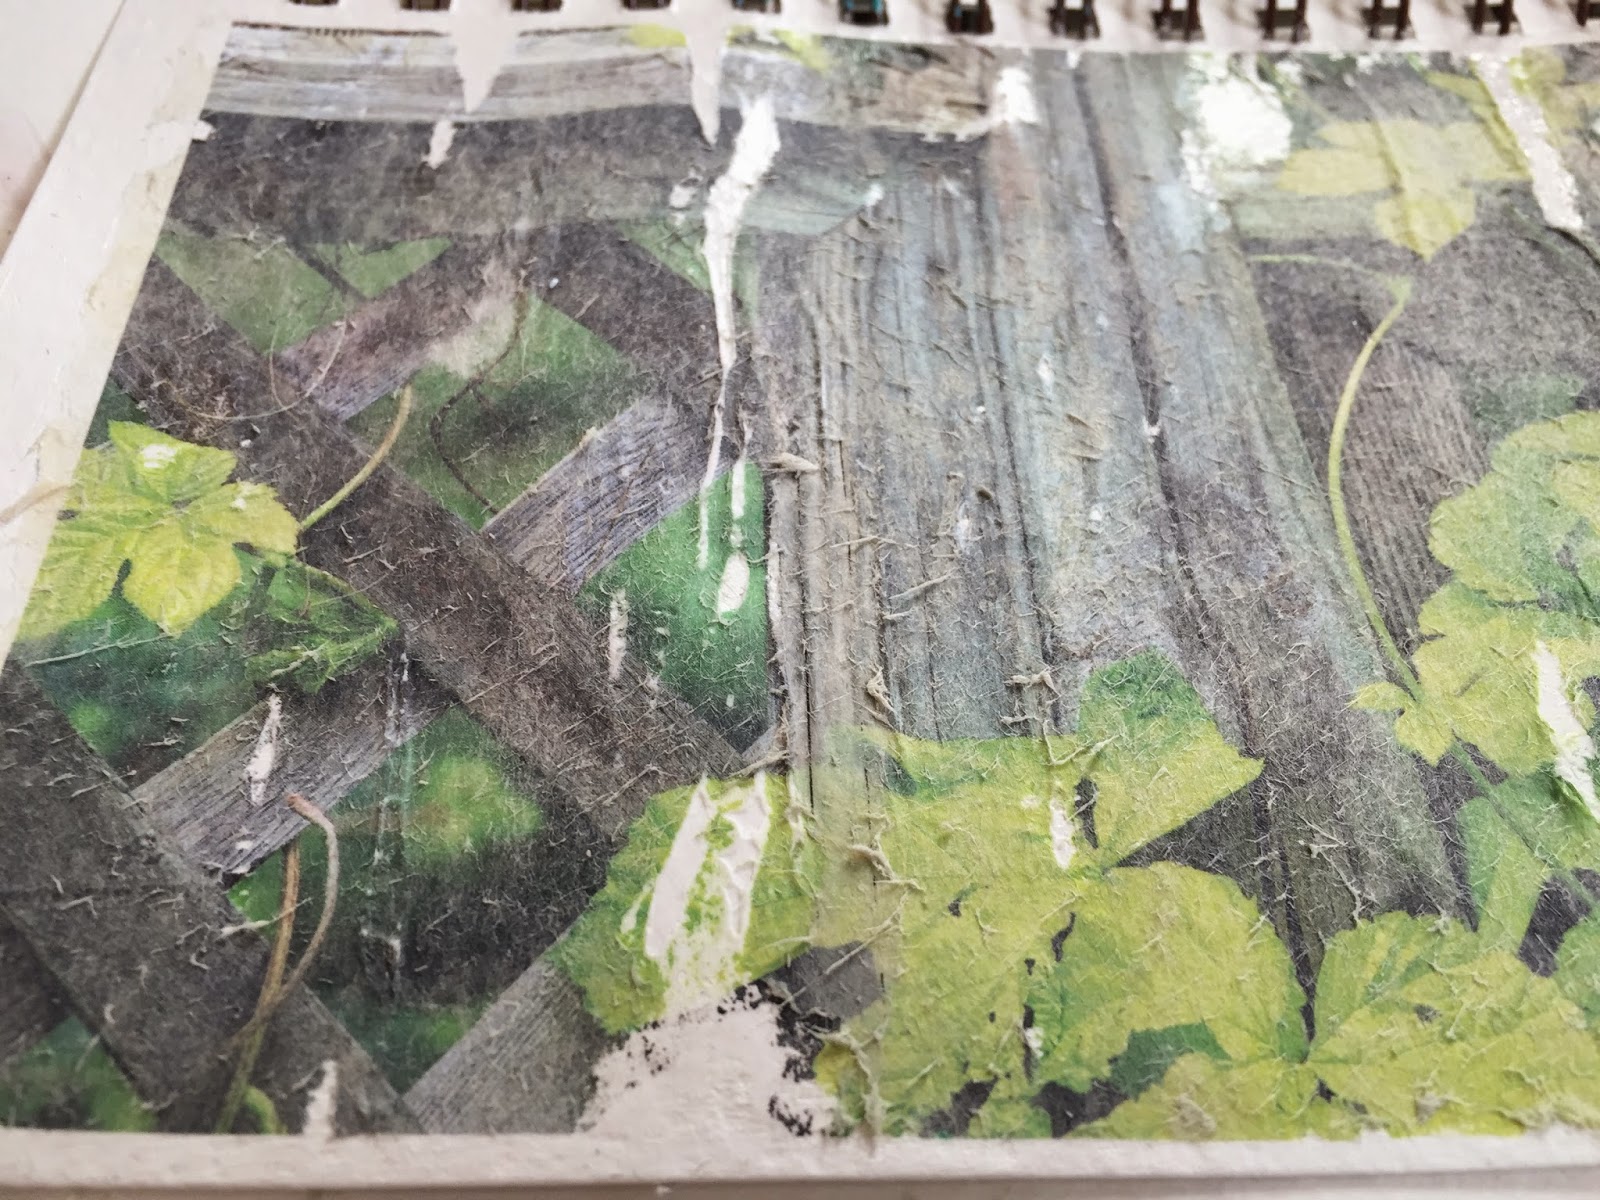
 
Day 8- Transfers
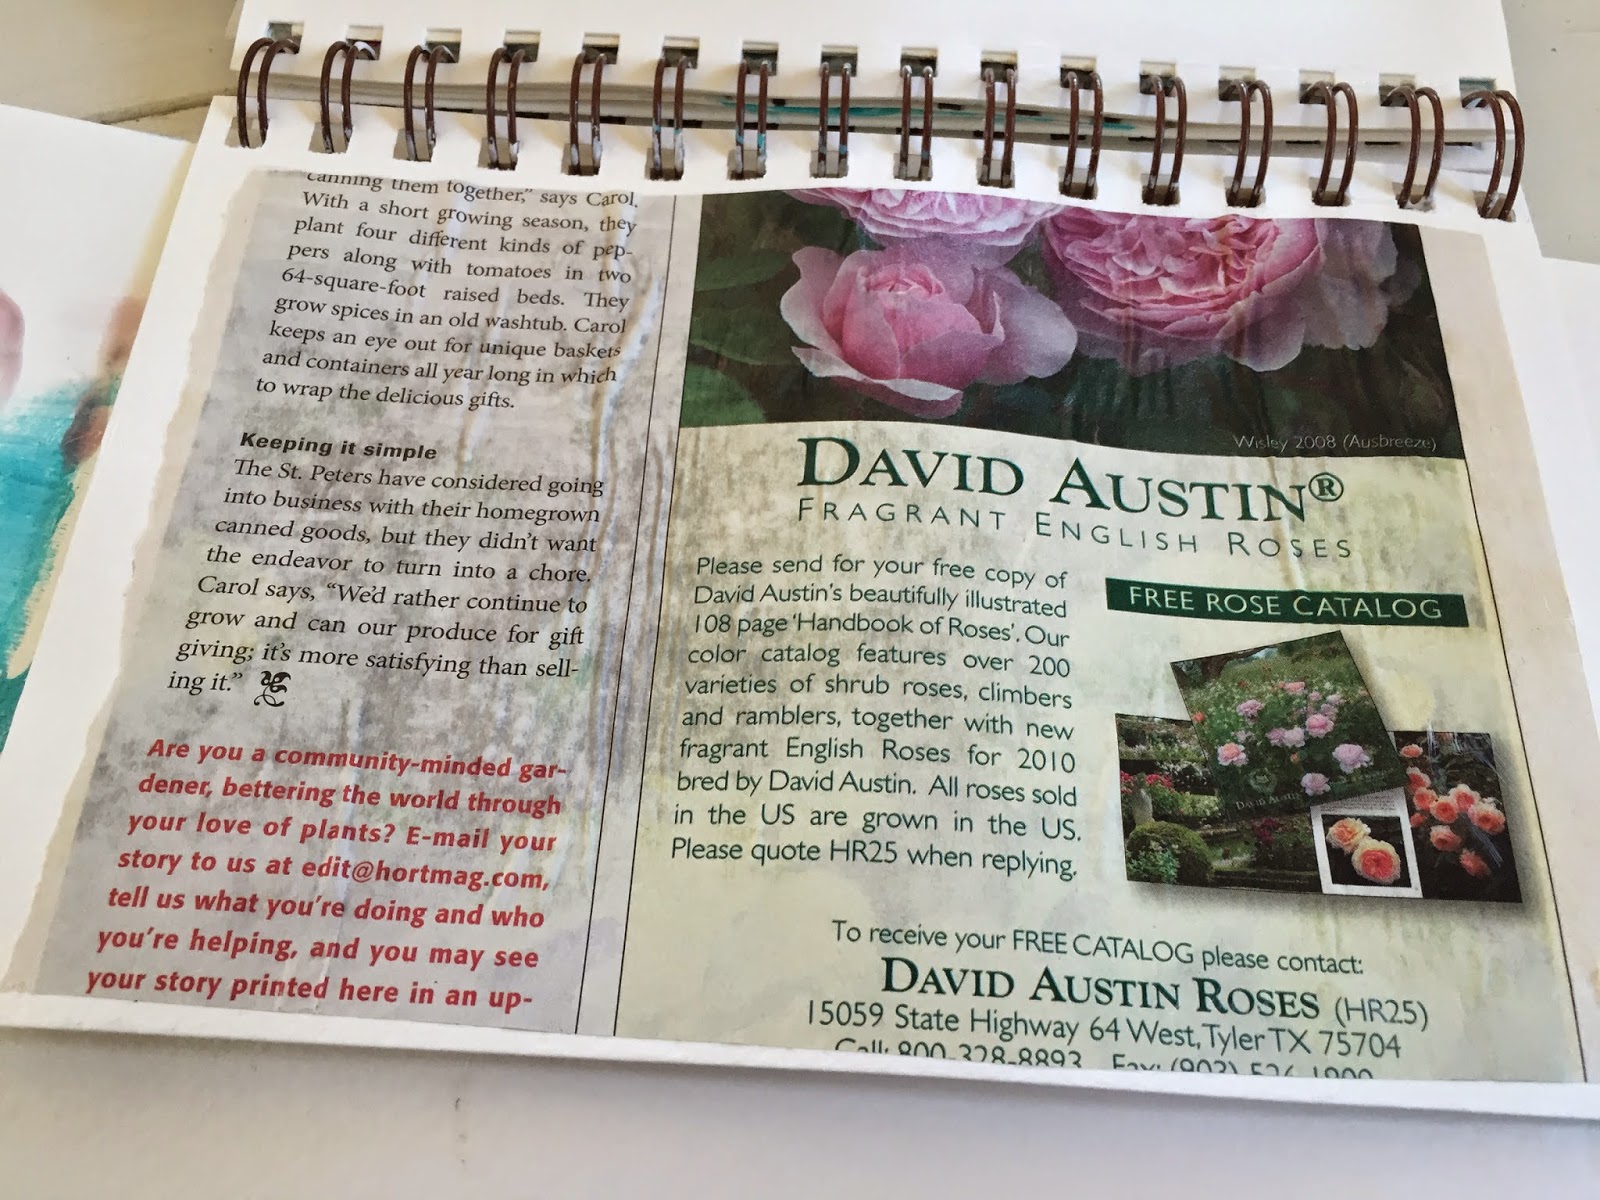
This is my first transfer.  I really like the distressed look, thank goodness because that's about as good as I could get.  I really like the finished product but was nervous I'd hate it during the process.  It simply wasn't "working".  I used a gloss medium from Wally World and a picture of a gate with vine growing on it from a magazine.
You can see the paper pulp still on the page but the more I tried to get it off the more of the transfer that came off with it.  I gave up and left it alone.
 I added a few flowers within the vine.
 and then added a stencil pattern over the top with the gloss medium. 
Gave it an interesting effect, barely noticeable but pretty neat none-the-less.  I need to invest in a couple nice stencils and try this again.
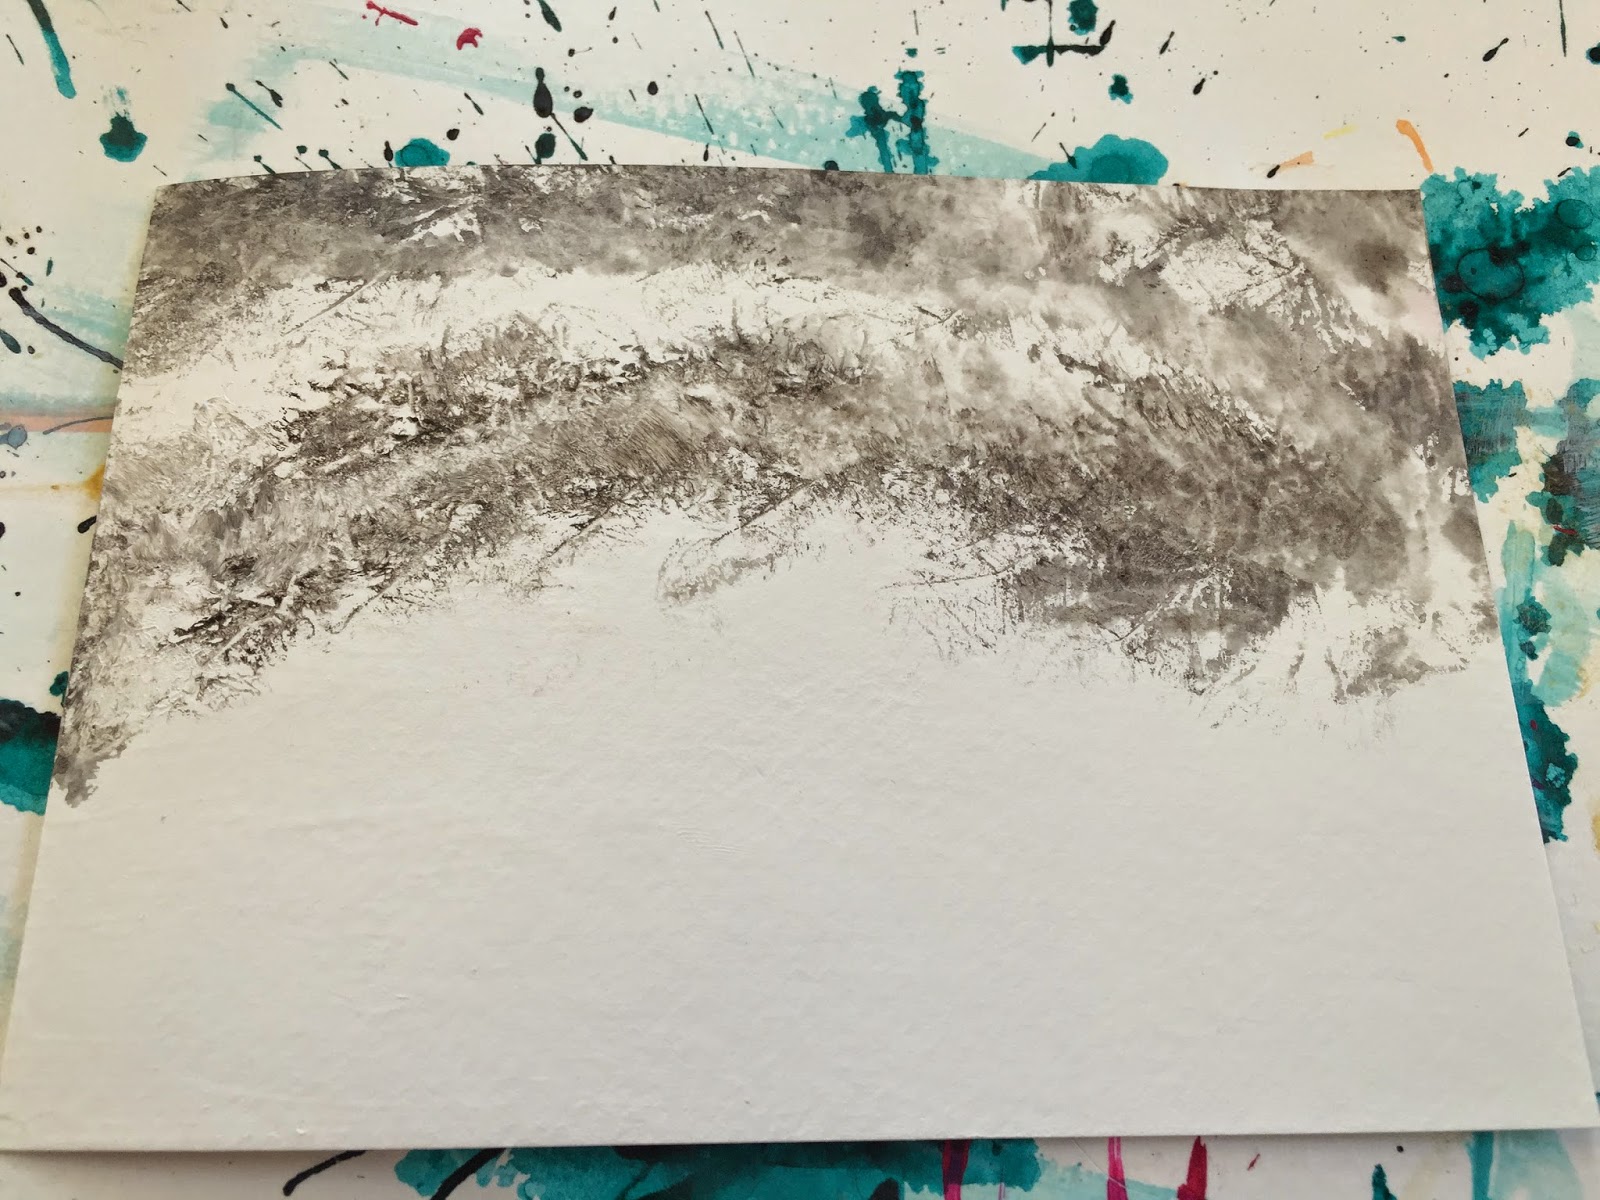
 
 
Day 9- Mark Making
Here are the tools I considered using.  I thought buttons would be a great mark maker but they really didn't work very well.  I ended up using a palette knife, straw, meat tenderizer and paper towel.  Love the finished result.
 I went to Michael's but couldn't remember what mom told me to buy.  I got frustrated so I left with nothing and used spackling paste instead.  Worked pretty good, wasn't sure it'd hold up.  Thinking I could possibly wake up to a crumbly mess in the morning.  What d'ya think?  Did it work?
 Here it is with two shades of pink added.  I used a little bit of water to help it spread better, which also knocked down and softened the texture.
 I added a lime green as well.
 Finished it off with a layer of gloss medium to add depth and shine.  It's been three days as I write this post and it is still doing just fine.  I'm a little surprised, but it worked.
 
 
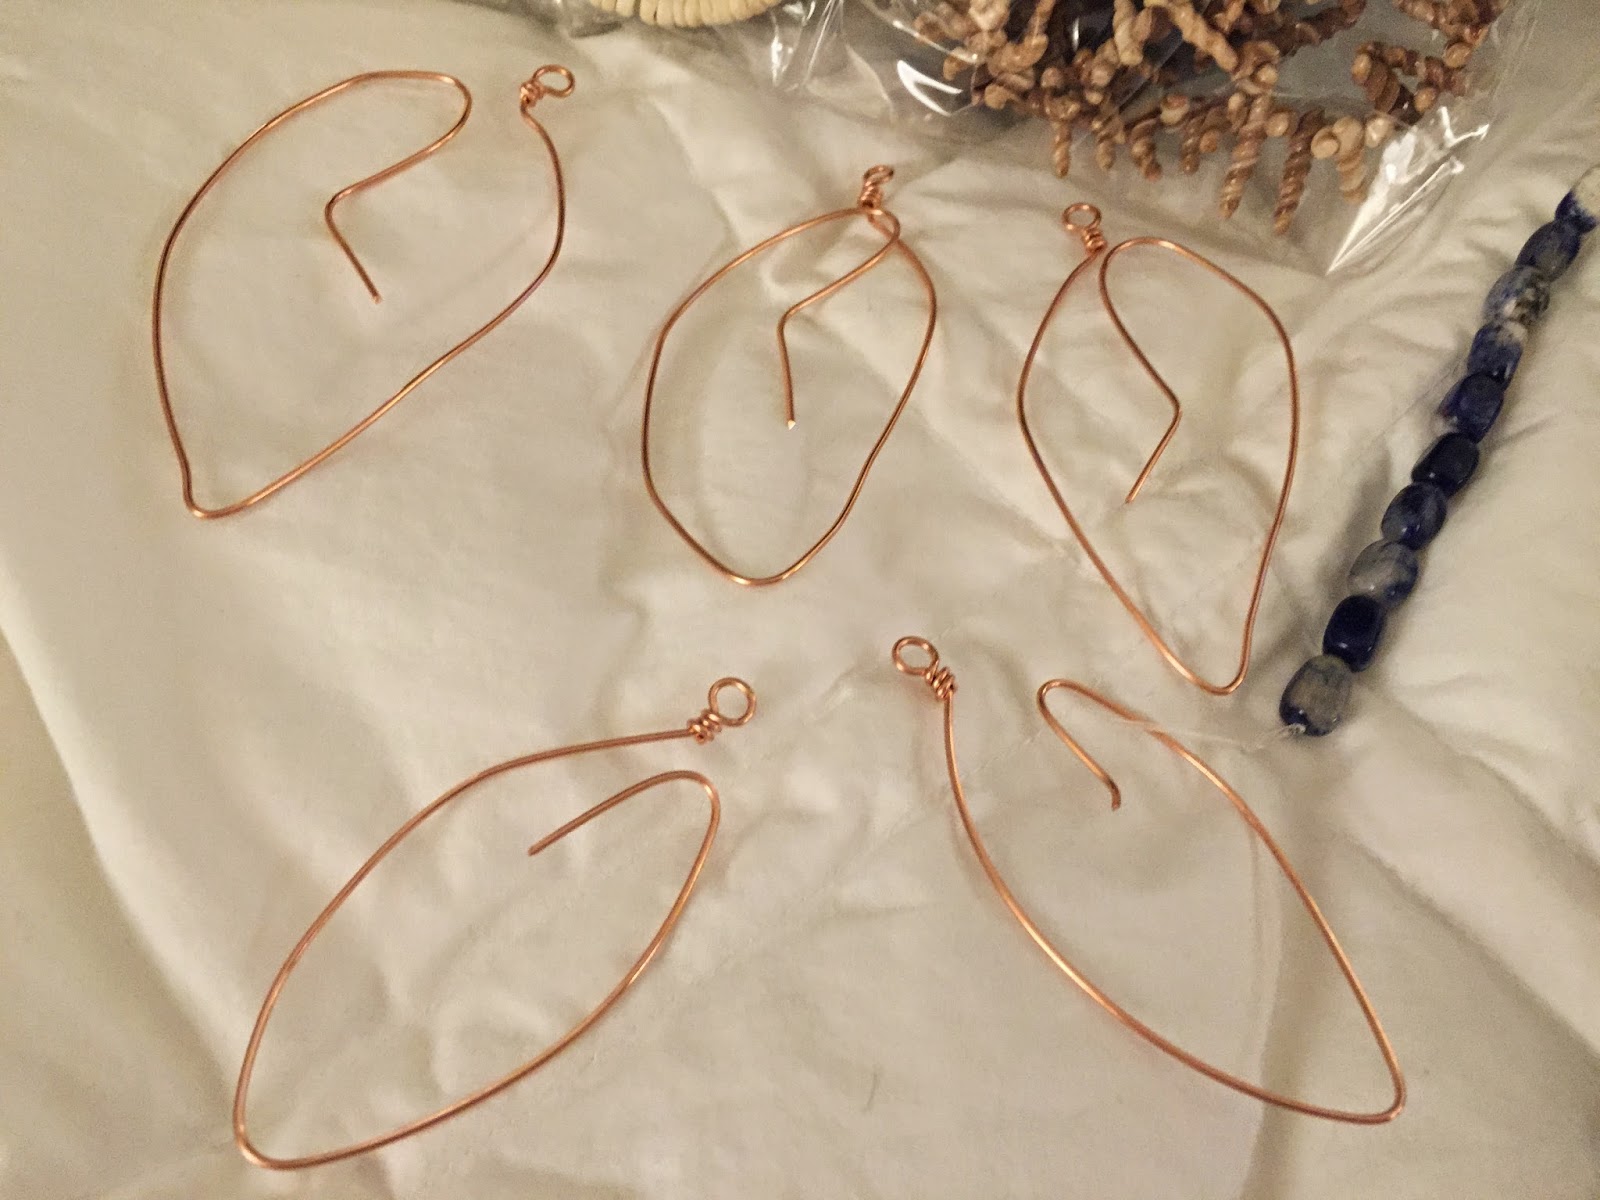
Day 10- Hearts and Wings
My thought, my kids.  They completely stole my heart and it's my job to give them wings so they can fly away.  I have two boys in college, leaving the nest so I chose to use the idea of birds (which are the wings in a round-a-bout way) and made them out of heart shapes.  I really love how it turned out.


Day 11- Map It
 As soon as I saw the title of the challenge for day 11 I knew what I wanted to do, our 20th Anniversary Trip to Yosemite.  We had so much fun backcountry camping and a map was definitely a necessity.  I used pictures and a basic map of the area from a park paper I brought back from the trip.
 
 I used a bottle of paint to add circles, writing our days activities as well as a few specific memories within.
 Then, I colored some of them in with markers.


I am still behind, (should be at Day14 of the 21 day challenge and week 8 of my 2015 challenge) hopefully I can get caught up this weekend.  All in good time!  Hope you are spending some quality time crafting and learning new things.  Always lots to learn!

Wednesday, February 25, 2015

Carved Vertical Concrete Pool Surround

This is the second project I've completed at my BIL's.  Uncle Bill did all the prep-work. Got the base poured and then I swooped in and did the vertical carving treatment. Hoping to get some actual "up and running" pictures in the spring. This cave was an opportunity to go a little wild and really have some fun, but they weren't interested. So we kept it plain and simple. It still turned out pretty cool and quite unique.
 
This is the base. We did a waterfall a few years ago and we chunked out the concrete while it was setting to give us some dimension to start with. That's what you're seeing here.
 
Here's a view into the "cave." This is the base
 
Now I've got some carving done. I decided to frame out the entrance of the cave and add supports throughout. Similar to what you'd find in a real coal mine situation. Would have loved to put a steering wheel in here and some other "fun" stuff for the kiddos but that idea got vetoed. One of the things I love about this stuff. You can pretty much get as creative as you'd like.
 
Here's a little bit of carving on the inside.
 
This is from inside the cave looking out. You can see one of my interior "supports" towards the entrance I have carved. The other side of the "wood support" is still the base.
 
Here's the other side again. I'm inside the cave looking out.
 
I am at the entrance looking towards the back. 
 
Main entrance looking towards back entrance/exit. It's a much smaller doorway. Most of the carving is now done.
 
Here we are with some color. They wanted it to contrast with the lighter concrete and the wall surrounding the back side of the pool.
 
The inside of the cave with some color.
 
Hopefully this spring/summer I'll be able to get some nice finished pictures.  Also stay tuned, in the near future I'll get the waterfall project from a few year's back posted.  Uncle Bill has a concrete company in the Peoria area so he does all the prep work and then I come in and do the finishing.  Works pretty good!

Tuesday, February 24, 2015

Leaves Are Falling- My Jewelry Creations

One of my newest creations and I'd like your opinion to help me finish it up. To begin with I made the rough shape of leaves using 18 gauge copper wire.
 I made five leaves, roughly the same size (not a perfectionist, leaves in nature are not exact), adding a loop at the top for connection.  At the time I was making these I didn't know how I would be using them.  I have a tendency to do that.  Just go where the whim takes me at the time and then figure out how to finish it or use it later.  Can be frustrating at times but that's my process.  What can I say, I'm a frustrating person (just ask my husband).
 I wire wrapped only the smaller corner section where I ended my wire in the center of the leaf around one edge.
 Here's a few completed leaves, well, wire-woven anyhow.
 I found these gorgeous emerald green beads at a bead show and thought they were perfect.  I wire wrapped them all along the outer edge of the leaf shape.
 Here it is, completed.  Now, what to do with it!
 
 
Here's what I've come up with, so far:
 
I want to make an armature to attach the leaves too and have more-or-less, a bib necklace.  I had to order some larger wire.  I believe this is 14 gauge copper.  I made my initial shape and added loops on either end to attach a chain when I'm done.
 I wire wrapped the opening together.
 Did a tiny bit of hammering around the curves and started wrapping each "finger".
 I placed three leaves, figured where I wanted them and started attaching them to the armature.
 Here it is with the leaves attached.  Now, I'm ready to finish it off!  I am thinking it needs a little something more.  My idea so far is to make a flower for the center, where the three leaves meet towards the top.  I think that'd be the perfect finishing touch.  What do you think?  I made the leaves over the summer while traveling with my husband for his work.  The armature a couple weeks ago and now it's time to "get 'er done".


Saturday, February 21, 2015

Art Challenge 2015- Card 7

Week 7 has been a great week.  I started a 21 Day Art Journaling Challenge the first of the week.  So, for this weeks card I used the front side to give samples of my first 7 days.  Nice way to combine both challenges into one.
 
If you've not followed along, here's the initial challenge post and if you follow by the label #ArtChallenge2015 you'll find each weeks post all in one place.  Now, for this weeks card.
 
Here's the front:
If you scroll down to the bottom I'll have pictures of my first seven days for the 21 day journaling challenging.  It's been wonderful!  If you're interested, here's a link to join in, http://irreversiblymoi.com/21-day-art-journaling-challenge/.
 
 
And the back:
 
 
We had our first real snow on Monday.  It was great.  About 7" of wintery goodness. 
 
 
Here's the first seven days of the 21 Day Art Journaling Challenge
 
Day 1- A Day In Your Life
I did "windows" giving a little peek into the things that take up my days.
 
Day 2- Faces
I don't draw faces.  I'm awful at it.  I opted to do two profiles, one side lists the positives and the other the negatives, the ways I've viewed myself over the years, and the hearts represent getting to know and accept yourself for who you are.  It's taken me quite a while to figure that out.
 
Day 3- Zentangle
First try at that.  Very therapeutic
 
Day 4- Sing A Song
This is my take on the sounds of spring, I love falling asleep to the sound of the frogs chirping and the big ole bull frog's croaking.  Favorite time of the year.
 
Day 5- Letters
For this challenge I chose to make copies of a few of my husband's letters to me and a mother's day card from my boys.  Wonderful memories.
 
Day 6- Selfie
Again, I chose to take the round-about way to get to a "selfie".  The more I thought about it, the more it became apparent that I should do a family tree.  My mom's hair and eyes, dads chin, face shape and many of his personality traits, grandma's ditziness and sweet nature, the other's tenacity.  Grandpa's love of gardening and nature.  After all, I am a product of all these people, not only genetics but the influences they've had on me over the years, for good and for bad.
 
Day 7- Books
I love all the artsy-fartsy things people are making from book pages.  I have a lot of condensed books from the 50's that you can't hardly give away so I thought I'd do my own version of "art".  I also added a list of some of my favorite authors.  I am working ahead so I'm not even sure what the challenge truly is for this day so who knows, I might change it up just a little once I find that out (should know in the morning).
 
Can't wait to see what the next couple weeks bring.  It's been great so far!
 
If you'd like to join in it's still be offered.  Check it out at http://irreversiblymoi.com/21-day-art-journaling-challenge/.
 
 
Related Posts Plugin for WordPress, Blogger...