Tuesday, April 25, 2017

Easy Concrete Planters

5 Words This Girl Loves To Hear:
"we've got some extra concrete"

I took off at a run for the house to grab some supplies.  On such short notice all I could come up with was a couple spring pans and a jello mold.  Don't forget the veggie oil and a rag or some type of non-stick spray. 
 I had some buckets in the shed (where we were working already) so I grabbed a few sizes and got started.  I filled the spring pan 3/4 of the way full and placed the bucket, adding rocks to add some weight and continued filling the pan. 

I did that with another spring pan and my jello mold as well.  I used my hand to level off the top and covered the whole thing with a garbage bag.  Leaving it to sit for a couple days before taking my forming off.

That bucket slipped out like butter.  I've tried this before but forgot the oil.  Yeah, that didn't end so well.  

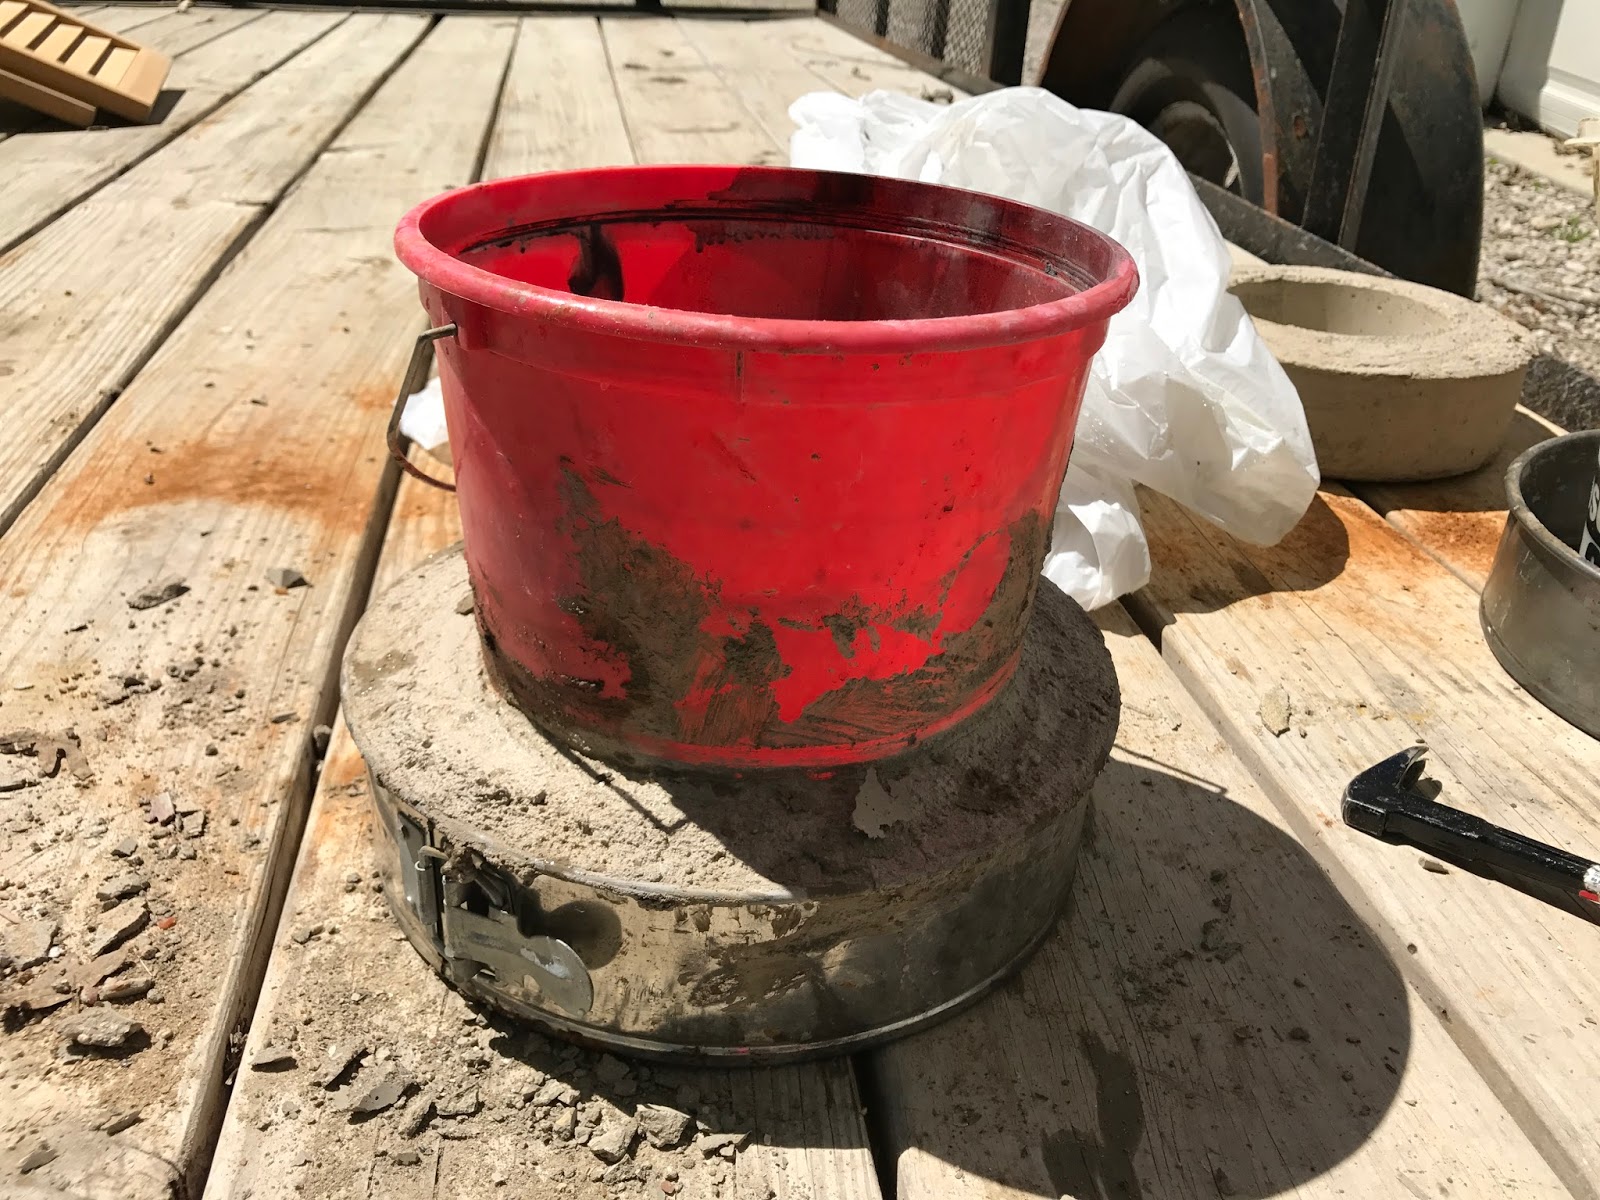
The spring pan was even easier.  Bottom popped right off and once I loosened the pan it slipped right off.  How easy is that.

I need to run a sanding block over it and am thinking about adding some color to finish it off.

I really love how the jello mold piece turned out.  The fluting is wonderful!  I had two nesting sizes so I used one on the interior also.  I couldn't find much heavy to hold it in so I've used all kinds of junk, looks perty doesn't it?

This one was a little tricky for the demolding process.  The outer mold popped right off.  The inner mold, well, that's another story.  Doesn't that look great!
See all that concrete.... none of it should be there.  I didn't do a very good job cleaning it out.  I chiseled it out as best I could and muscled the inner mold out (quit laughing, I have some muscle).

Then, the bottom piece on the mold is removable and refused to come out.  I had to tear it up to get it out.  I'll have to change how I do that next time.

 Here's all three pieces that I did (too bad I couldn't figure out more molds quick, I just hate to throw the leftovers away).  Next time I'll be better prepared.

Now, how to finish them off.  Stay tuned, not sure what I'm going to do but I've got a few ideas.  Pictures coming soon!

Wednesday, April 5, 2017

Adorable Little Journal Book with A Sewn Pocket Protector


My mother visited this week and we snuck away a couple times to visit other Antique Malls in the area.  We had way too much fun and I found all kinds of great stuff.

One of my favorite finds is this wonderful little journal with a hand sewn and embellished book holder.  I thought mom and I might have a fight over this one (right in the middle of an aisle at the Antique Mall) but she graciously conceded to let me buy it.  We will both be trying to figure out how the binding works and making a few of these. 

It is just adorable!


There are ten little signatures in the book with four pieces of plain paper and one smaller decorative layer.  I know nothing about the way this little book is bound but I am completed enamored with it.  It looks like a crochet stitch.  I am determined to figure this out and make my own version.  What a treasure!


Never would I have thought to use a rubber stamp for the cover.  This is the back and the front seems to be a plain piece of rubber stamp material that's been decorated with other materials.


Look at how beautiful that is!  Anybody know what type of stitch this is?  How to do it?  I really want to figure this binding out.  Just gorgeous.

Related Posts Plugin for WordPress, Blogger...