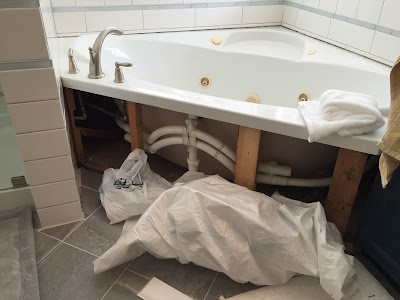
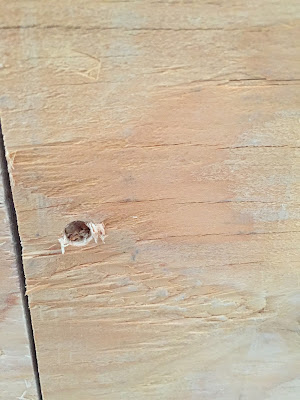
We decided to use beadboard for the tub surround. I used the original wood as a base, cutting it down to fit (the addition of tile shrunk the space a bit). Once I'd gotten it cut I couldn't use all the old screw holes so I had to make some new ones. I didn't have the tool with me to sink them so I used a standard drill bit and made a shallow hole to sink the screw into (it needs to be flush for the beadboard to lay over the top).
It's in, still needs the nail holes filled and a coat of paint.
Got the nail holes filled and now I need to caulk and paint. It's looking good, and almost done!
Thursday is my last day, it'll be a long day of finishing touches and this project will be complete. Before and After pictures coming soon.


Found your blog about 2 months ago. I love your posts and check daily for a new one. Your talent, skills and projects have me in awe! I'll be back, you have a wonderful way of making me think I'd like to know you. :)
ReplyDeleteThanks so much for the kind words. Hope to keep you inspired and ready to take on new projects yourself.
ReplyDeleteHi! We have a whirlpool tub like this. Any facade enclosing the pipes needs to be removable for maintenance, yes? What kind of hardware did you use for that? Also, do you think beadboard is a trend or is it timeless? Trying to resolve our tub front and 2 sides and wish to do so in a way that won't date the house in a few years. Thank you!
ReplyDelete