Wednesday, September 28, 2016

Building The Chirping Frog- Part 25

Wow, just over a month and we'll be opening our doors for business.  Mark your calendars, November 1st is opening day and I've scheduled a Grand Opening for November 12th.  It is going to be one heck of a month and I'm sure I'll be running on pure adrenaline by the time we're done.  Lots and lots of things to do to make it happen.  Here's a look at this weeks progress:

The floors are being cleaned so we can get them stained and sealed.  Caleb has been working to clear out the place and is doing his first run with the floor cleaner.  It'll need to be cleaned multiple times before we can move on.  He'll also be re-cutting the joints and filling them with caulk.  

One of my little projects, this is in the classroom.  I'm bringing my inspiration board from home and putting it here.  The classroom will be a work in progress even after we open.  It'll be usable but not what I have envisioned for a while.  Since we're not planning to go full-speed ahead with the classes until the first of the year I've got some time to get it just how I want it.

I am still trying to finish up the maps in the entryway.  I have the majority of the walls covered, just some finishing around the doors left to do.

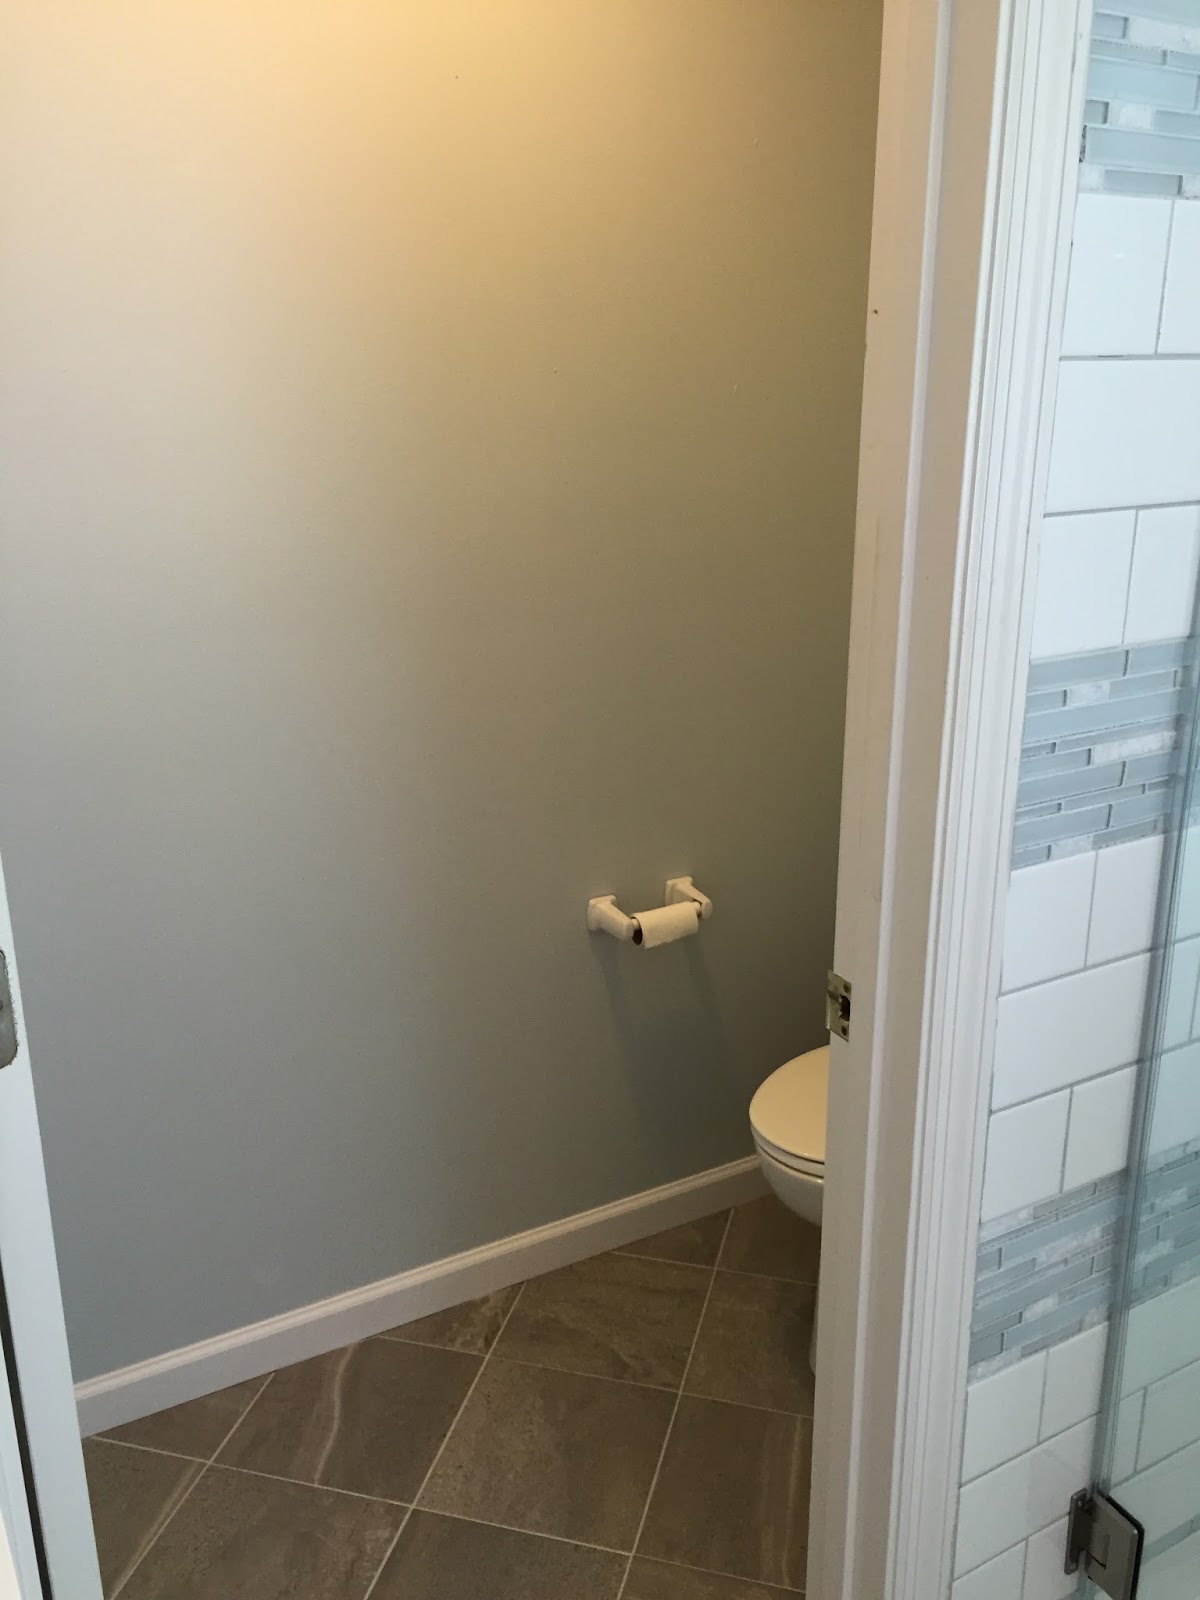
The bathrooms got prepped and ready for tile.

We bought this brick at an auction a couple years ago and I've finally found a use for it.  I really love how it looks in the bathrooms.  Today begins the cleaning process,  Hopefully by the end of the week I'll have it grouted and ready for the plumber.

We've been working after dark and will be for the remainder of the project.  We don't have permanent power yet (still another week away) but the electrician set it up so we could turn on/off the outside lighting.  It really, really helps when you can see what you're doing out there.

Still dark but can you imagine trying to dump "rock" without the lights?  That's what my husbands been doing now for a couple weeks, he's doing a great job.

I spent Saturday rolling the first layer of "rock" for the parking lot.  All week my husband is continuing to build up the parking lot and I'll be rolling again this weekend.  Hopefully it'll be done at that point and we can move on to something else.

He had great plans for the placement of the dumpster but that's not gonna work.  Not sure where its going to go now but I'm sure he'll figure something out.  Might not have worked as planned but it got this area cleaned out and we can now drive around to the back door.  That'll be helpful for move-in and for removal of large pieces of furniture so overall it's a win.

The areas between the sidewalk and the building will get planted in the spring.  I'll be lucky to get them mulched this year, its on my to-do list along with a ton of other things.  I've got it pictured in my head but it's just gonna have to wait.

Another project that needs done are the chandeliers for the entryway.  I've purchased all the supplies, now I just need to find the time to sit down and work on it.

We have come a really long way since we started this project the end of February.  Here's a look back at all the progress we've made....
  • Part 1- Clean-up
  • Part 2- Dirt Work
  • Part 3- Tons of Rock & Footings 
  • Part 4- Foundation Walls
  • Part 5- Foundation Walls Poured
  • Part 6- Forming Bathroom Walls
  • Part 7- Bathroom Walls Poured
  • Part 8- Rock, rock and more rock!
  • Part 9- Concrete Floor Pour
  • Part 10- Clean-up
  • Part 11- Framing is Underway
  • Part 12- Trusses
  • Part 13- Trusses Are Up
  • Part 14- Metal Started on Roof
  • Part 15- Roof and Concrete Wainscoting
  • Part 16- More Carved Concrete and Pine Log Entry gets installed  
  • Part 17- Concrete gets stained, doors installed and grouted, still working on getting us closed up.  
  • Part 18- Framing interior walls.
  • Part 19-Miscellaneous projects
  • Part 20- Electrical has begun.
  • Part 21- Water line trenching, plumbing is in.
  • Part 22- Lots of miscellaneous
  • Part 23- Concrete, lighting and H/C, oh my!
  • Part 24- Another concrete pour and the parking lot work has begun.
No wonder we're both so tired!

Stay tuned for information about our upcoming Grand Opening on November 12th. Planning for food, live entertainment, fun activities and door prizes.  We'll also be hosting our first ever "Flippin' Challenge", look for the application and guidelines the first of October.  Hope to see you there!   


Thursday, September 22, 2016

Bathroom Update- Hip Hip Hooray, We're Done!

This post is from a bathroom remodel I worked on last summer/fall.  It seems that every time I begin a tile project I horribly underestimate the time involved.

Yesterday I started tiling the accent wall that divides the bathrooms at The Chirping Frog.  My body is already screaming at me and I'm only roughly halfway up the first wall... and its time to start climbing a ladder!  The real fun is just beginning.  It's always worth the time (and pain) once it's done but man, I'm reminded every time I tile of just how old I'm getting!

Here's a look at the before and after's from my last tile project.  I need the reminder that the end result is worth it.

Can you believe it, the bathroom is finally done.  It's really amazing how removing one little half wall has opened up the entire space.

Here's a reminder of how dark the shower was before we started our "little" project.  First order of the day was to bust out this half wall and get some light into the shower area (which required moving plumbing and a vent), but wow, what a difference it makes!
Before
Before

After

This is the best before picture of the vanity area that I have.  Wish I had thought to take a better picture.  The vanity is a whopping 84" in length.  Hugo, with a simple builder standard mirror covering the entire wall behind it.

Can you say dated?

My first order of business was to remove that mirror, then I wanted to divide up the huge expanse of counter-top with a wall cabinet (a place to hide all the junk), tile that wall and hang framed mirrors instead.  The counter-top was changed out along with the fixtures, the cabinetry got a gorgeous shade of blue paint and new knobs.  Presto, chango, what a drastic difference that made!
Before
After

After

After

After

This is the only picture I took of the "water closet".  It had linoleum before that met up with carpeting at the doorway.  It was a bear to get out but now there's a nice smooth transition at the doorway.  I'm leaving all the decorating up to the homeowner (I'd hang a grouping of those cute sea-scape pictures you've got right on that wall, don't spread them through the room like you had them before, mass them right there for more impact pretty please, if you're planning on re-using them that is).
After

So, what do you think?  Was it worth the time and effort or was it fine how it was?  Favorite part?  What would you have done differently?  Would love to hear your thoughts.  Have you tackled a similar project, please share, we'd love to see your work.

Wednesday, September 14, 2016

Building The Chirping Frog- Part 24

Another week has flown by and we're making incredible progress.  Opening day will be here before you know it.

You're probably sick of concrete work but it's mandatory so here ya go, another pour.  This time the handicap parking spaces and a loading zone out front got prepped and poured.  We still have two small pours to go; a pad for the dumpster and a small entry pad off a side door.

Jason's new toy, our bobcat went kaput, this one's a rental.

Caleb is getting it compacted.

Pour day, went smoothly and the rain bypassed us, lucky!


We went home for lunch and a quick nap after the pour, came back and started the parking lot.  That's gonna be a really, really slow process.


This is the first layer with the chunkier pieces.  There's still another fine layer to finish it off and I see plenty of rolling in my future .

This is a wall where the check-out counters will be.  I've gotten a coat of primer on and am working on getting it completed.  I'm hoping to use it to advertise the monthly classes.

First coat of chalkboard paint.  I am planning to frame it out with some wood leftover from the framing (they cut down 2x4's so I have these great pieces of rough-sawed wood that looks like pallet wood).

Saturday all the H/C piping got started...

... and returns are going in this week.

The interior metal is almost done.  All that's left is the employee/check-out space and the area around the bathrooms.


There's a small area of ceiling in the vestibule as well.  Can you believe it, we're almost done!  Well, with that anyhow.  Now it gets a little scary.  There's some plumbing to do and then the rest of the work is all on us.  I'm terrified.

Here's a peek back at how far we've come:
  • Part 1- Clean-up
  • Part 2- Dirt Work
  • Part 3- Tons of Rock & Footings 
  • Part 4- Foundation Walls
  • Part 5- Foundation Walls Poured
  • Part 6- Forming Bathroom Walls
  • Part 7- Bathroom Walls Poured
  • Part 8- Rock, rock and more rock!
  • Part 9- Concrete Floor Pour
  • Part 10- Clean-up
  • Part 11- Framing is Underway
  • Part 12- Trusses
  • Part 13- Trusses Are Up
  • Part 14- Metal Started on Roof
  • Part 15- Roof and Concrete Wainscoting
  • Part 16- More Carved Concrete and Pine Log Entry gets installed  
  • Part 17- Concrete gets stained, doors installed and grouted, still working on getting us closed up.  
  • Part 18- Framing interior walls.
  • Part 19-Miscellaneous projects
  • Part 20- Electrical has begun.
  • Part 21- Water line trenching, plumbing is in.
  • Part 22- Lots of miscellaneous
  • Part 23- Concrete, lighting and H/C, oh my!
I know y'all are dying to get in here and time might not be passing fast enough for you but let me tell ya, it's flying bye!  This next step is going to be a complete whirlwind of activity and physical (not to mention emotional) exhaustion (can't wait to get this place open so I can get a little rest!).  

Monday, September 12, 2016

My First Topical Journal With Blended Techniques

This little journal has now become my new favorite, I know I say that a lot but seriously, I really love this one!

 I've blended a couple techniques giving it the best of both worlds, lots of space to journal for the more functional side of things, and paper bags with multiple pockets and a flap for all the artsy-fartsy decorations your little heart desires.
Here's the guts of the book.  Three paper bag pockets that I've gotten put together and covered with decorative papers and two signatures, roughly 6 pages each with some added extras I'll show you a little later on.  

I used chip board to create the cover....

... and created a hidden hinge for the binding.  I have to draw it out in order to get it right, All that scribbling probably makes absolutely no sense but this it was it looks like when it's done.


Once it's all glued together (there's three sheets of paper involved in the above hinge) I add it into the spine of the book.  The outer flaps get glued into the front and back cover of the book while the three central flaps are what hold the paper bag pockets.  The signatures will be sewn in later, between the pockets, like so:

Here it is ready to go:

This is the inside front cover and the first paper bag pocket.  I left it very lightly decorated.  This particular journal is going to a young women who has just suffered a tremendous loss that I can only imagine (and I don't know her very well) so I was very skimpy with the decor.  It's more about the value of journaling to the healing process and if she's ready someday to add some decor then she'll have the space to do so.

Here it is with the flap open.  The butterfly is a belly band tuck point, the bag bottom forms a pocket where I've added a small journal card and the bag itself becomes a pocket where I've put a mat board with a poem.


Here is the back side of the paper bag with another pocket and the start of the first journal signature.  They say coloring is very therapeutic so I've added a couple coloring pages.  This one depicts ocean waves and goes along with the poem in the pocket beforehand.

This first journal signature has a photo album that I've created as well.  There are four flaps with space for photos on either side and it's repeated towards the end of the signature.


Each signature has a poem attached in the center and lots of space to journal.

This is the end of the first journal signature and the start of the second paper bag pocket.

I've added a greeting card in this pocket and a simple piece of decorative paper with space to journal.  No other decorative elements for this pocket.

This is the second signature.  I had a few pieces of paper left from the photo album in the first one so I've added them here.

I have kept the personal touches very minimal but I did make this piece of paper from peppermint patty wrappers, it'll mean something to her.

This is a coloring page that I've added.  The right side is the back of a greeting card that I included into the signature.
 .

The final paper bag pocket.


I really love the mixed technique in this book, it's so versatile.  When we go on vacation I always come home, buy a photo album that has space next to the pictures and as I add them in I journal our days activities along side the pictures.  This is kind of perfect for that and there's space for all the wonderful pieces of ephemera I pick up along the way.

I will be teaching a Sunday School class starting in October and plan to make journals for the kids with the materials we use in class and lots of extras so they've got a usable journal at class end.

What other topics do you think a journal such as this could work for?
Related Posts Plugin for WordPress, Blogger...